| Return to Main Gauge Face Page Updated: April 7, 2026 VIEW CART CONTACT 
|
| 1800 Style A Black Faces |
1800 Style B WHITE faces |
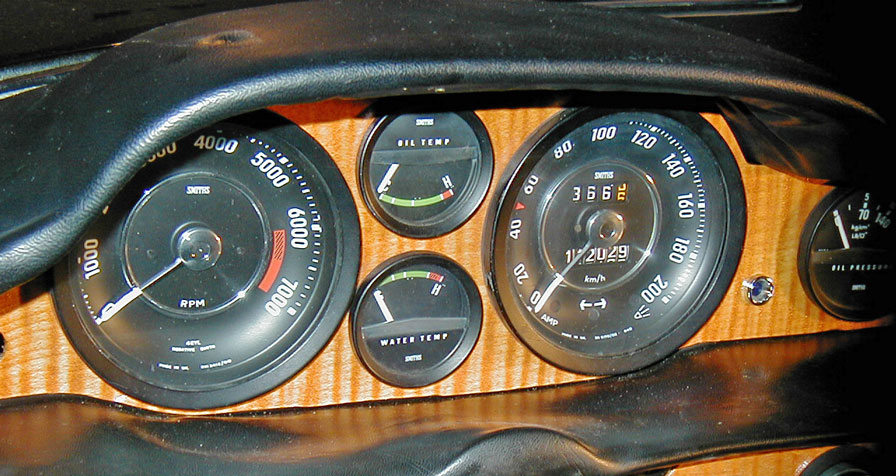
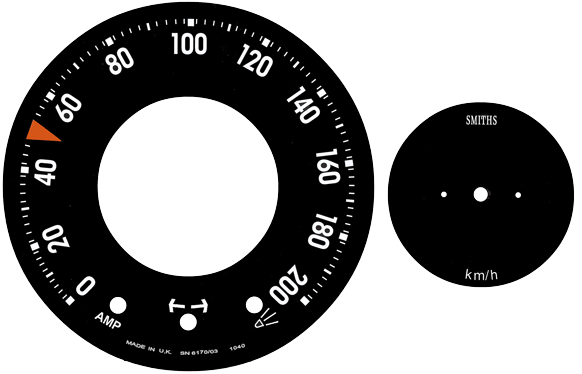
| Black Face MPH to km/h Conversion |
ORDER MENU |
(Shown with 200 kmh speedometer) |
|
|
|
|
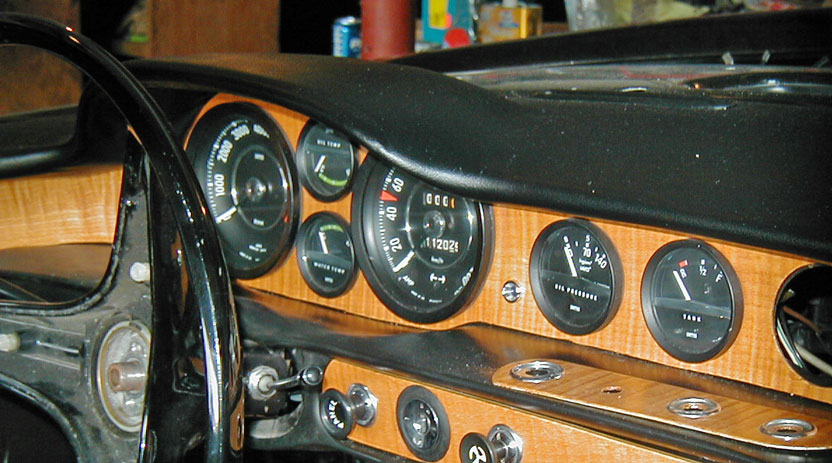
I offer original looking black face or custom white face gauge face
overlays for the the Volvo Smiths gauges shown here. These are designed with peel and stick adhesive. DIY installation may be done without any special tools. |
CLICK HERE for Overlay Installation Instructions (400 KB PDF) |
https://www.prancingmoose.com/WhiteFaceGaugesOriginal240.html https://www.prancingmoose.com/WhiteFaceGauges52mm.html
|

|
|
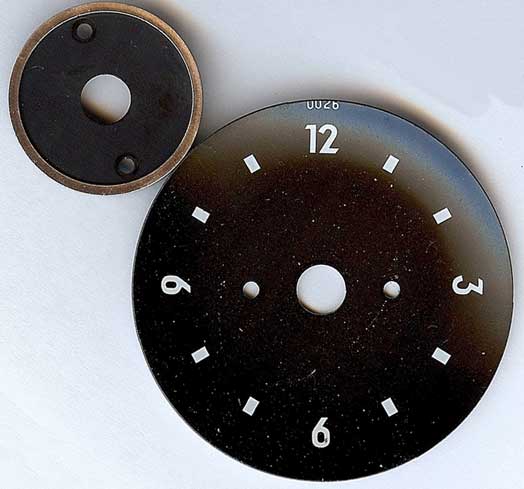
Below Photo Style A: 1800 Black Face
Original Style |
| TWO DIFFERENT STYLE CLOCKS There are TWO style clocks that are found with these gauges. Style 1 Clock is most common and this is the DEFAULT style that comes with the face overlay set. If you need Style 2 Clock, please enter that request in the Order Details Text Box below when you order. There is no extra cost.
|
| Style-A SPEEDOMETER CONVERSION ONLY
If you only need a speedometer
face set to repair or convert a speedometer from MPH to km/h, this may be used. |
| COMPLETED EXAMPLES |
| The below customer made a couple of changes from his original gauges. The changes are subtle. He requested "VOLVO" be placed in the faces instead of "SMITHS". He also preferred orange colored needles instead of white ones, which he painted during reassembly. 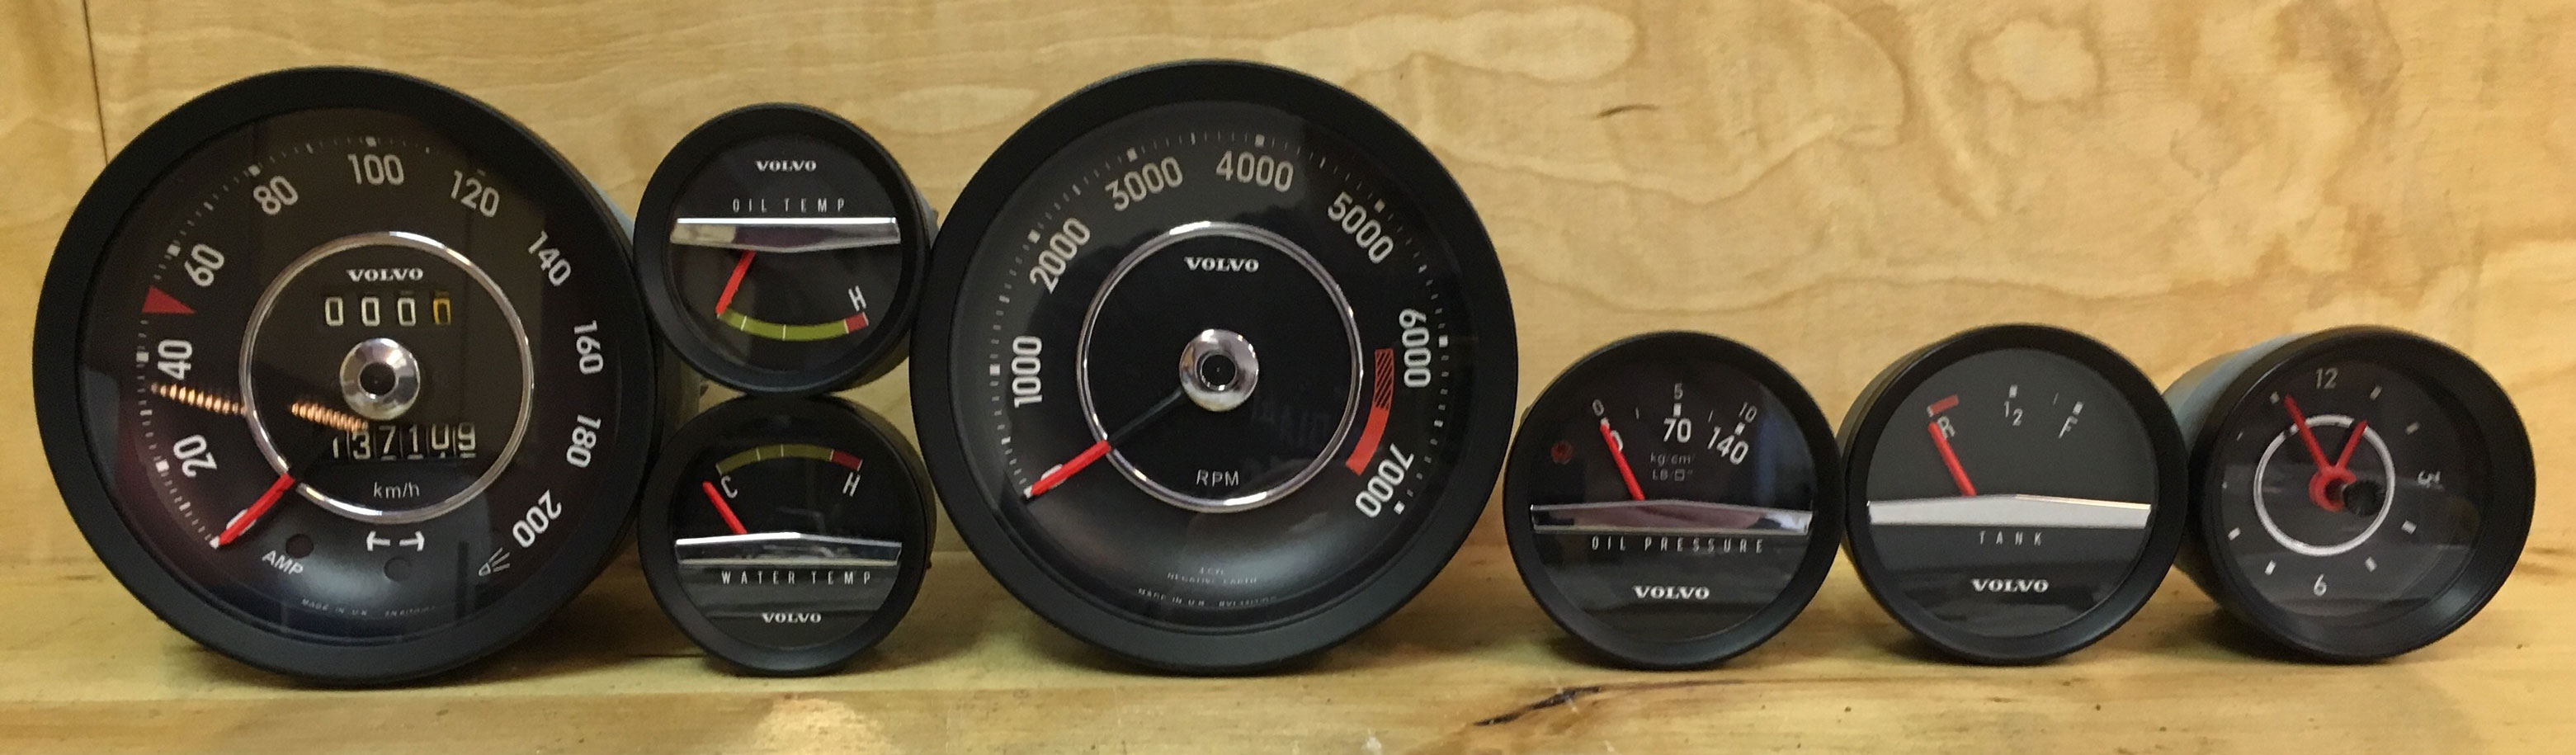
|
|
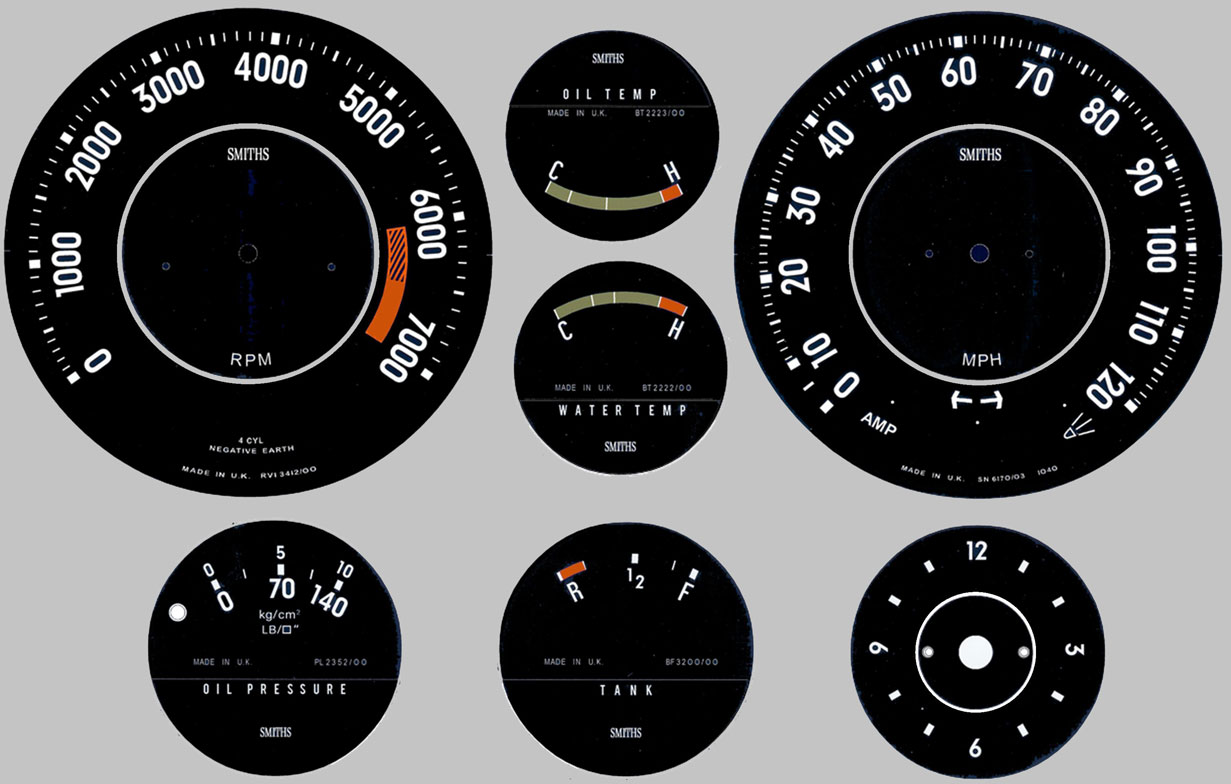
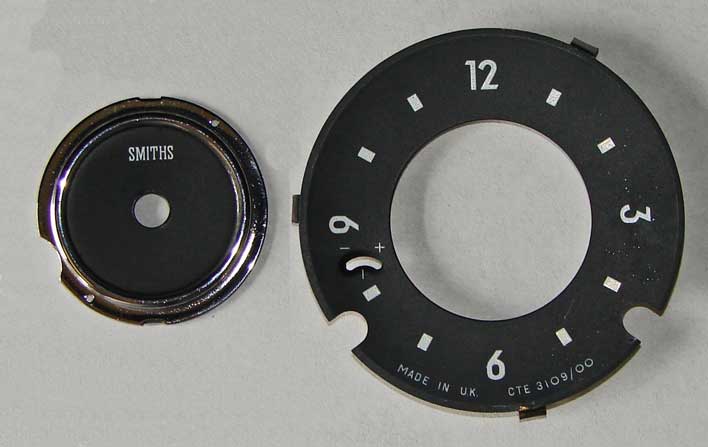
Below Photo Style B: 1800 White Faces.
This 14 piece
set is intended to create a high quality white
face set. 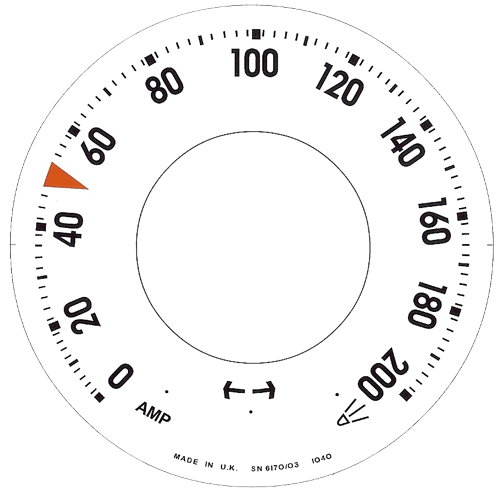
|

| COMPLETED EXAMPLES |
The below customer wanted white faces. 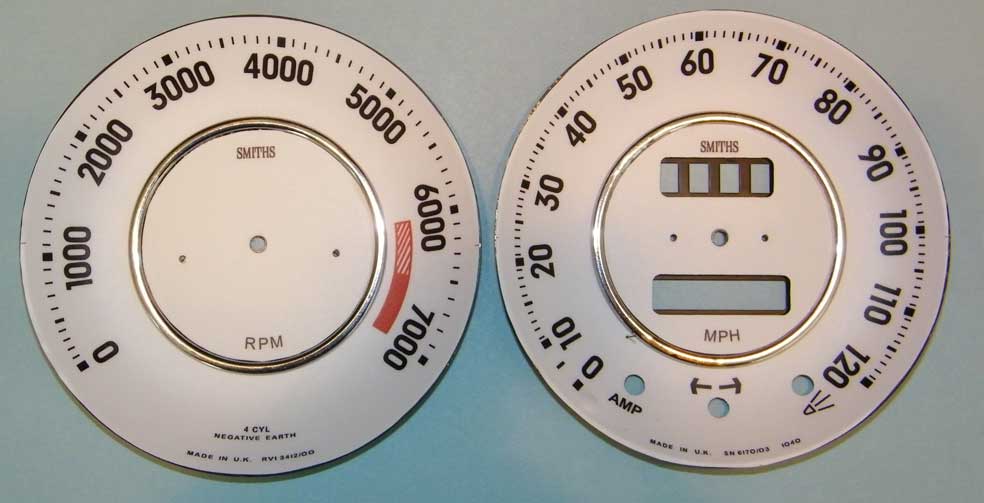
These gauges below were custom built with variable colored LED lighting, solid black bezel rings and black needles. 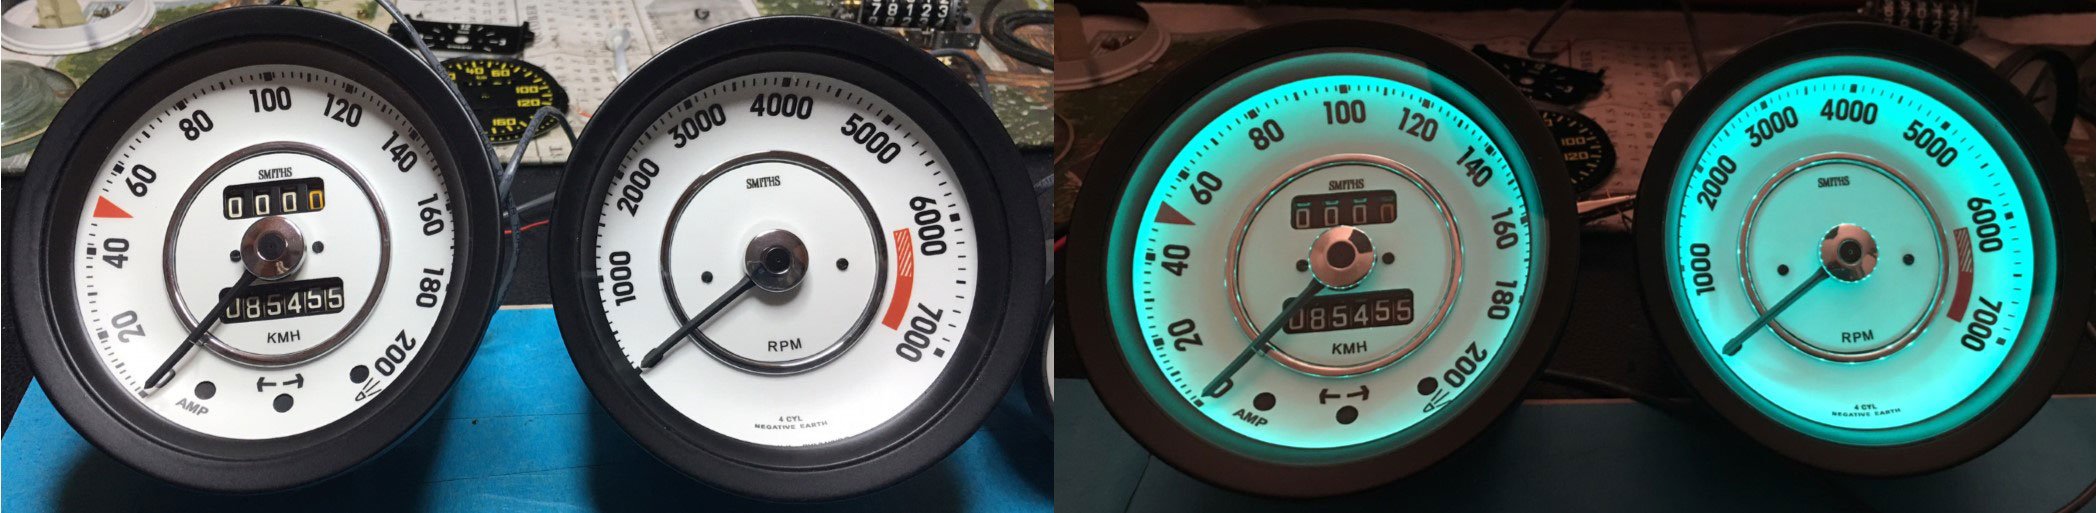
|
| All faces have a Matte/Non-Glare Laminated UV Poly Film over the front to protect the finish. |