| PRANCING MOOSE.COM DAVE'S VOLVO PAGE
|
|||||||||||||||||||||||||||||||||||||||||||||||||||


 alternators are known for poor voltage.")


 |
| S E A R C H D A V E ' S
V O L V O P A G E S B E
L O W
|
|
| ITEM SEARCH?: Search this page. In your browser tool bar click 'EDIT.' Then click 'FIND.' Then enter a Part Number or phrase in the search box. |
|
|
| N A V I G A T E T H I S P A G E PAGE 1 (This Page) |
| Go to PAGE 2 |
|
|
Recommended
Directions for Applying Vinyl Stickers
and Labels
DRY
APPLICATION
CLEAN SURFACE: The
surface should be clean of dust, grit or oils.
Glass should be free of chemicals like
Rain-X. Alcohol or a solvent cleaner may
be used on non-painted surfaces, but should be
tested in an out of sight area first. Oils
from your hands can contaminate the surface
and degrade the sticker adhesive.FIRM PRESSURE: The adhesive is activated with pressure. Applying the label from one side to the other will help prevent air from being trapped under it. WARM TEMPERATURES: Adhesive sticks better and cures better in warm temperatures. Very cold temperatures will cause the adhesive to have less tack and it may begin to lift. The ideal label and surface temperature is between 70-90°F (21-32°C). When storing labels, keeping them between 60-90°F (15-32°C) is recommended. GIVE THEM TIME: The pressure of applying a label begins the curing process. The adhesive will slowly become stronger over time and will usually be fully cured in about 1-2 weeks.
WET
APPLICATION
This
is
an optional method that works very well, but it has a
slightly steeper learning curve. It is the only
method used by professionals. CLEAN SURFACE: The surface should be clean of dust, grit or oils. Glass should be free of chemicals like Rain-X. Alcohol or a solvent cleaner may be used on non-painted surfaces, but should be tested in an out of sight area first. Oils from your hands can contaminate the surface and degrade the sticker adhesive. PREPARING THE APPLICATION FLUID: If you're tempted to grab some window cleaner, I would not unless maybe it's ammonia and alcohol free. Applying vinyl on a wet surface using proper fluid will allow you to re-position or slide the decal to the correct position. So the fluid needs to be slick. This also allows for better results by reducing air bubbles behind the vinyl. You should use clean water with a small amount of dish washing liquid soap. The amount of soap should be ONE or TWO drops in a pint of water (16 ounces). Dish washing liquid is best, since it's there to break the surface tension of the water, which you can't count on some other soaps to do. Put this liquid in a spray bottle. APPLYING THE VINYL: Remove the decal backing and generously spray the back of the decal (adhesive side). Now generously spray the surface (glass, paint, etc.). Place the decal on the wet surface and spray a little fluid on the front of the decal so the squeegee slides easily. This helps the squeegee works and reduces the chance of scratching the decal surface. Slid the decal it into position. SQUEEGEE TIME: You may use a credit card or a stiff rubber squeegee. If you think there is a chance your tool will scratch the decal, you may wrap a piece of soft, thin cloth over the edge. Something like this tool is perfect: https://www.amazon.com/ABN-High-Quality-Decal-Squeegee. The squeegee will be used for scraping, or "squeegeeing" the fluid out from under the decal. Then let it sit and dry on it's own (in the sun will speed this up). It could take a day or so for things to dry out completely. Here is a good YouTube
video for those of you who want to see this method
in action on glass: https://www.youtube.com/watch?v=ViAKd-YSQiU
And for a good tutorial on a WINDSHIELD BANNER or VISOR installation: https://www.youtube.com/watch?v=MyyoGBdZCp4
Removing Old
Stickers
or Stubborn Sticker Residue from Paint In most cases a vinyl sticker can simply be peeled off. Often using some heat from a hair drier or heat gun to soften the adhesive will make it come off much cleaner. If you have a sticker that has been on there a long time or there is very stubborn adhesive residue left behind, the below video offers the best method I know. This first one shows the benefits of WD40. https://www.youtube.com/watch?v=t6zgyeeeawU https://youtu.be/IJLIvxmB7e4
|

Some Volvos come with non-steel body panels. Magnets will not stick to plastic or aluminum body parts! Aluminum Tailgates: Many late model wagons and SUVs. Plastic skinned trunk lids (boot lids): S60 models in the 2000s and later. Plastic front fenders (wings): XC90 and other SUVs. Any others not mentioned here? Please let me know. CAUTION for Using Magnetic Backing for Extended Durations on Paint Some customers have
complained that magnetic
backing can begin to stick to their paint
after a long time on the car, leaving a residue on
the paint that was hard to remove. When I
asked how long the magnet had been on the car and if
they ever removed it when washing the car, most said
it was never
removed. Some were on the car for years.
Moisture, soap, dirt, road grime (or winter salt / brine) can work its way behind a magnet over time or when it rains, during car washes, etc. While the risk to your paint is probably not high, I think there could be a potential to blemish your paint from leaving all that gunk behind there. At least one customer has experienced paint pitting from WINTER SALT / BRINE when a magnet was left on for an extended period. Please consider REMOVING magnetic backed stickers
occasionally to CLEAN BEHIND THEM or remove
them occasionally when WASHING YOUR CAR and
replace them when done.
|
| Special Slanted Body Emblems |
Size: All are 27 mm tall, same as original emblem. 3M VHB adhesive backing. 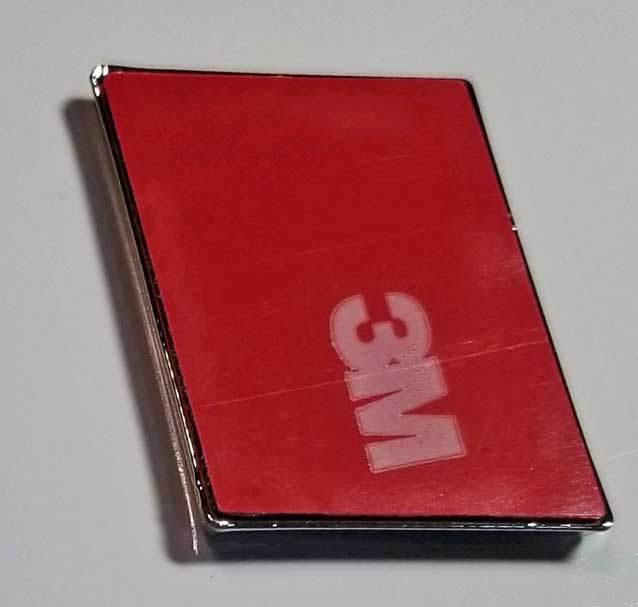 Many Styles Available CLICK HERE for the EMBLEM page: https://www.prancingmoose.com/emblems.html 
|

| CROSS COUNTRY Style Decals |
|
||
Style 1: DRIVE IT LIKE YOU HATE IT (30 inches)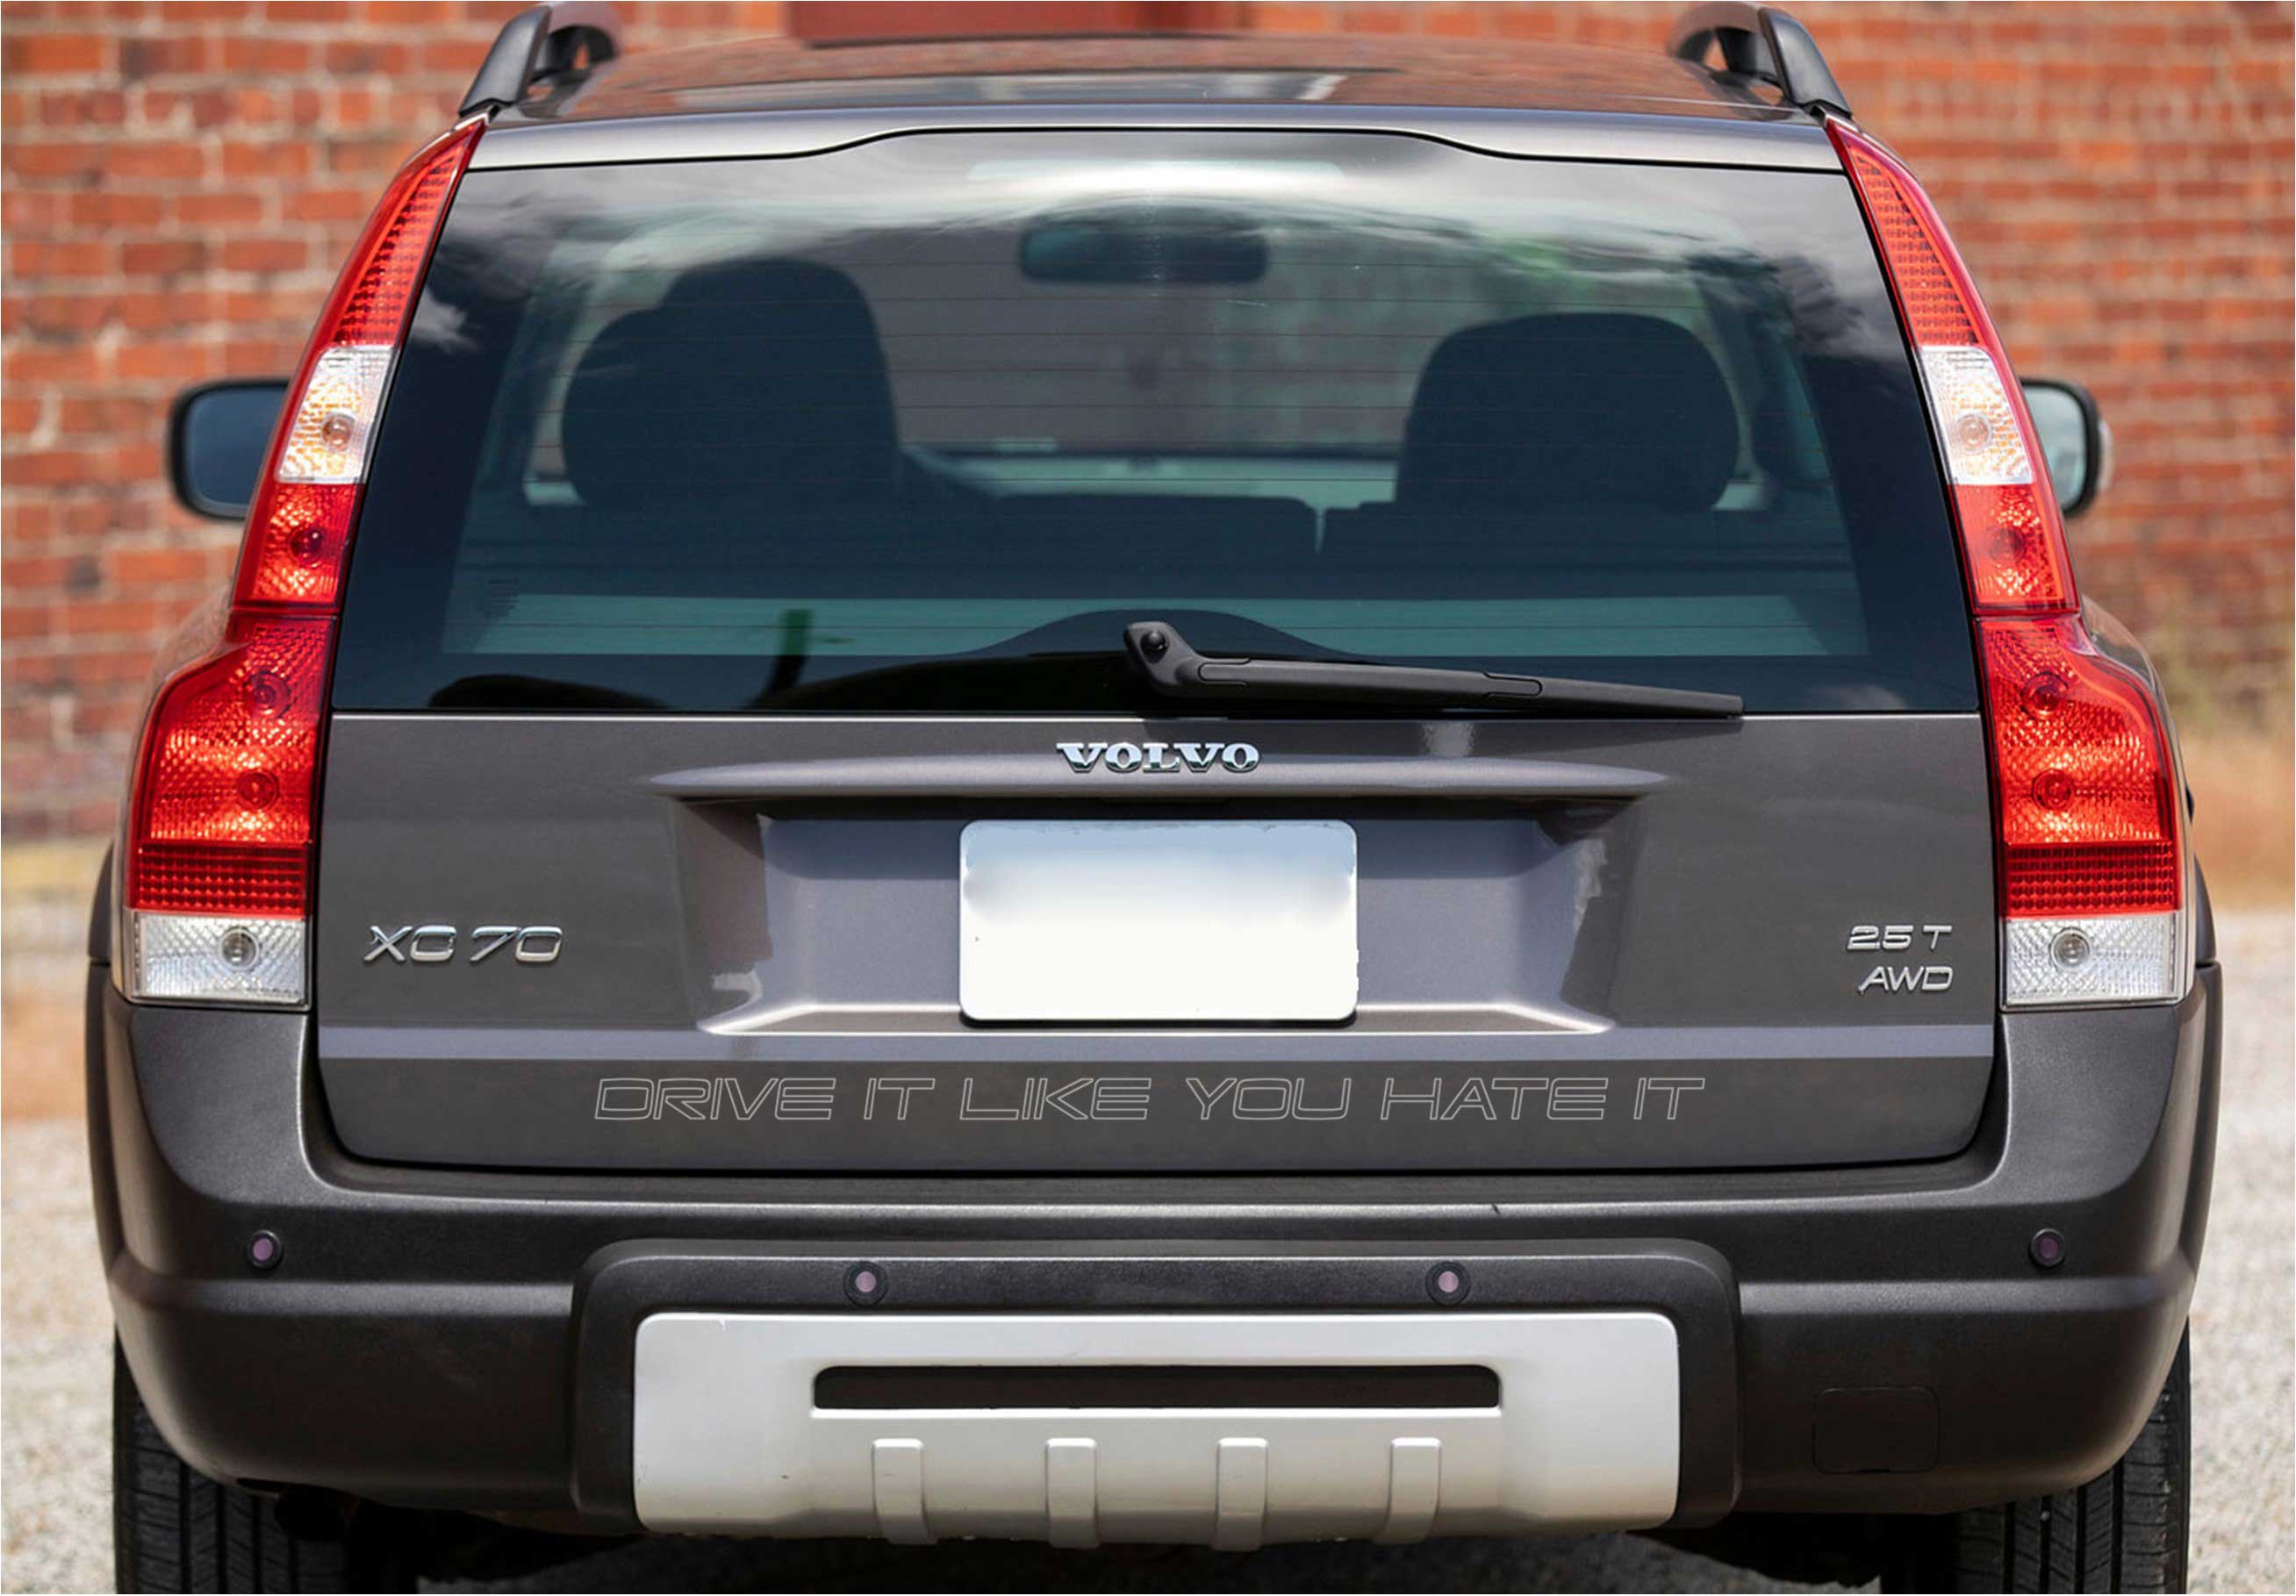 |
Style 2: MOOSE COUNTRY (28.75 inches) |
|
Style 3: RACE COUNTRY (28.75 inches) |
Style 4: DAILY DRIVEN (28.75 inches)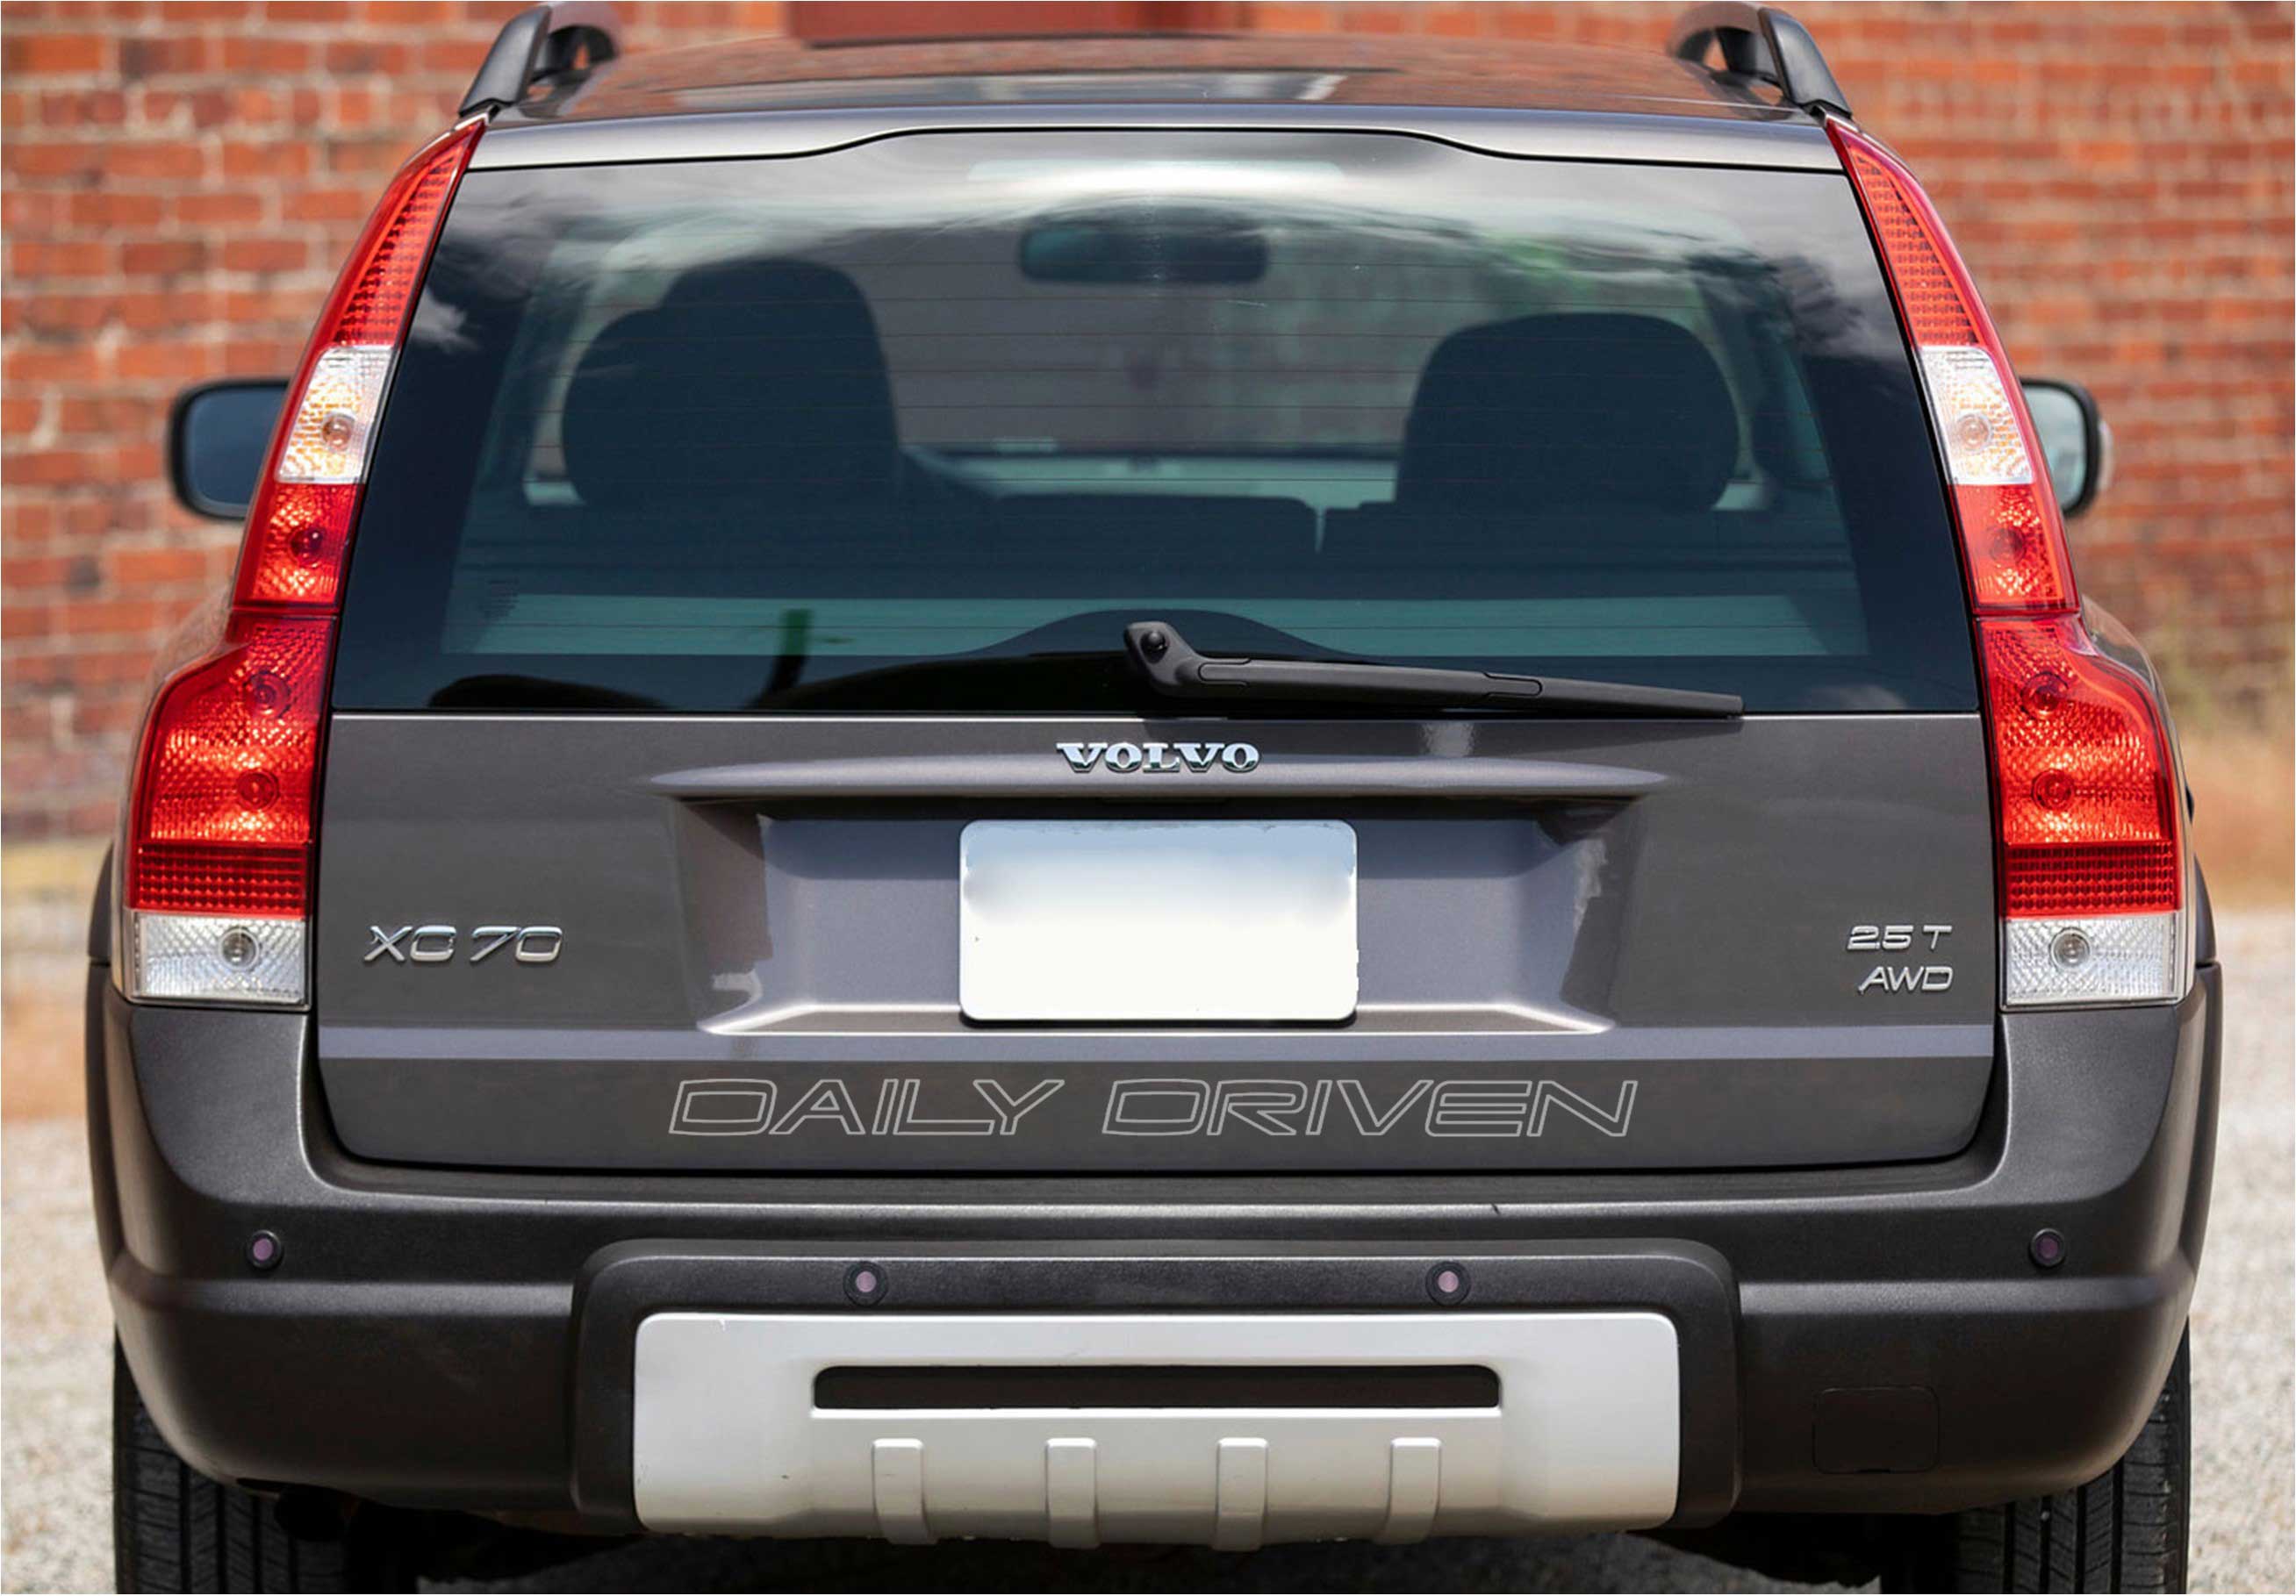 |
|
Style 5: CRO** COUNTR* (28.75 inches) |
Style 6: ÖVERLAND ÄVENTYR (30 inches) Translation Here  |
|
Style 7: PRANCING MOOSE (30 inches) |
Style 8: KNULLA ASFALTERADE VÄGAR (38 inches) Translation Here  |
|
Style 9: CROSS TOWN (28 inches) |
||

| Die cut vinyl examples above shown in SILVER. CC Style Decal for car body or glass. Die cut vinyl decal mounted on professional transfer material. COLORS: Silver, Dark Gray, Black, White.  ORDER MENU When done shopping, please proceed to SHIPPING: CLICK HERE Shopping cart and Check Out is at Bottom of Page |
|

| JÄVLAR! |
| |
| Die
Cut Vinyl Decal
mounted on professional transfer material. As your Volvo ages, the above expression tends to become more common. Place one on your back window to share your love with the world! Swedish for "Fuck!" Dies Cut SIZES: 4 x 0.65 inches (101 x 17 mm) Price: $3.00 each 6 x 1 inches (152 x 25 mm) Price: $4.00 each 10 x 1.6 inches (254 x 42 mm) Price: $6.00 each COLOR: White. |

|
Order Here: JÄVLAR! Die Cut Decal
When
done shopping, please proceed to SHIPPING: CLICK
HEREShopping cart and Check Out is at Bottom of Page |
| |
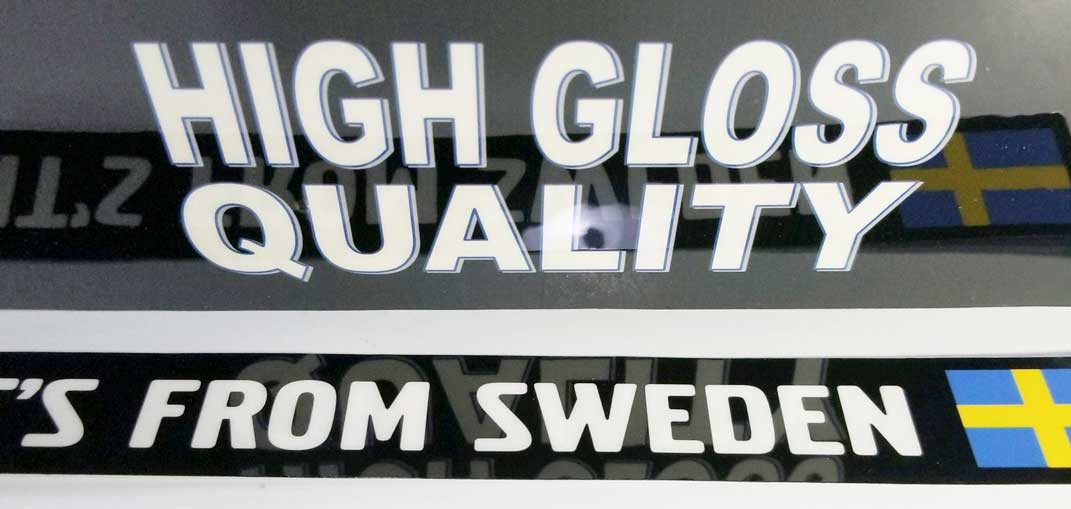
| Available as a high-gloss printed vinyl sticker, Black with WHITE text,
optional with magnetic backing, or
as a
reverse inside window decal. As your Volvo ages, the above expression tends to become more common. Place one on your back window to share your love with the world! Swedish for "Fuck!" SIZE: 6 x 1.2 inches (152 x 30 mm) Price: $3.00 each SIZE: 10 x 2 inches (254 x 50 mm) Price: $6.00 each |

|
Order Here: JÄVLAR! black with white text.
When
done shopping, please proceed to SHIPPING: CLICK
HEREShopping cart and Check Out is at Bottom of Page |
| SWEDISH WAGON MAFIA |
 |
| Die
Cut Vinyl Decal
mounted on professional transfer material. SIZES: 6 inches long (152 mm) Price: $3.00 each 10 inches long (254 mm) Price: $6.00 each COLORS: White, Silver. |
|
When done shopping, please proceed to SHIPPING: CLICK HERE Shopping cart and Check Out is at Bottom of Page |
| BUT DID YOU DIE? |
 |
| Die
Cut Vinyl Decal
mounted on professional transfer material. SIZES: 6 x 1 inches (152 x 25 mm): Price: $4.00 each 10 x 1.7 inches (254 x 43mm): Price: $7.00 each COLOR: White  |
| BUT
DID YOU DIE? -Without VOLVO? Die Cut Decal This one is available without the Volvo logo here: www.prancingmoose.com/carstickers.html#butdidyoudie |
| Detailed
instructions for Die Cut Decals here: diecutinstructions YouTube installation video: https://www.youtube.com/cHrNX5WyTjs |
| V*LVO - A car you can believe in. Re-creation of original vintage decal. These were made by special request. |
|
Special white print on clear background decal. Decal available with adhesive ON REAR (normal decal). Or available with adhesive ON FRONT (used as inside glass decal). SIZE: 97 mm wide (3.8 inches) 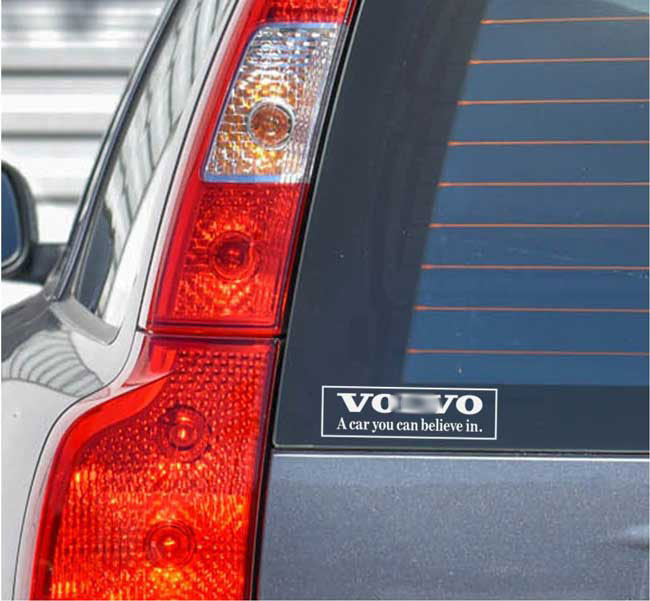 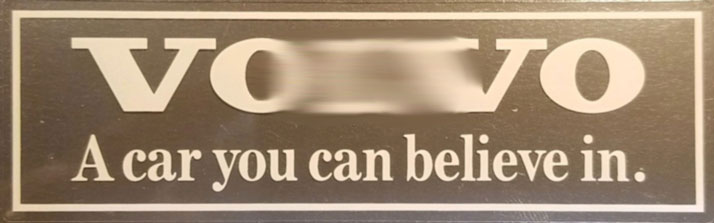
|
AVAILABLE
|
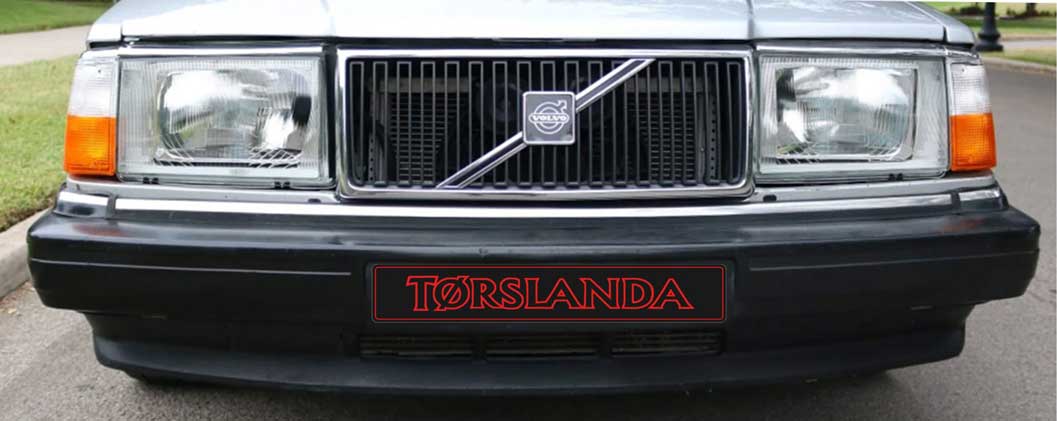
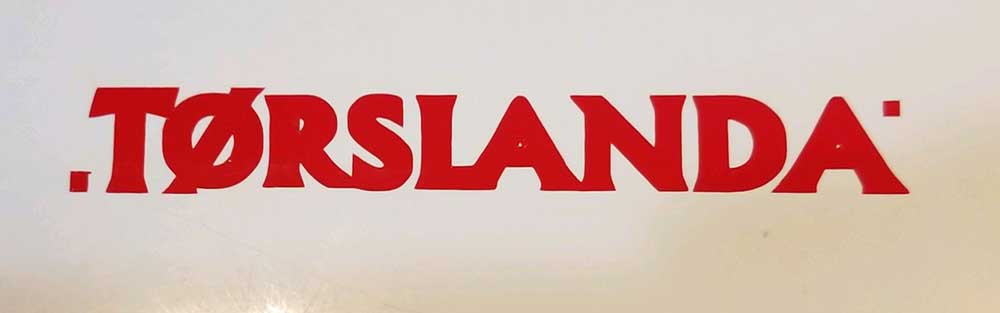
| VOLVO CARS TORSLANDA GOTHENBURG DECAL |
| DIE CUT DECAL (White Text). Die Cut Vinyl Decal mounted on professional transfer material. Adhesive on back. SIZE: 10 inches (254 mm): $10.00  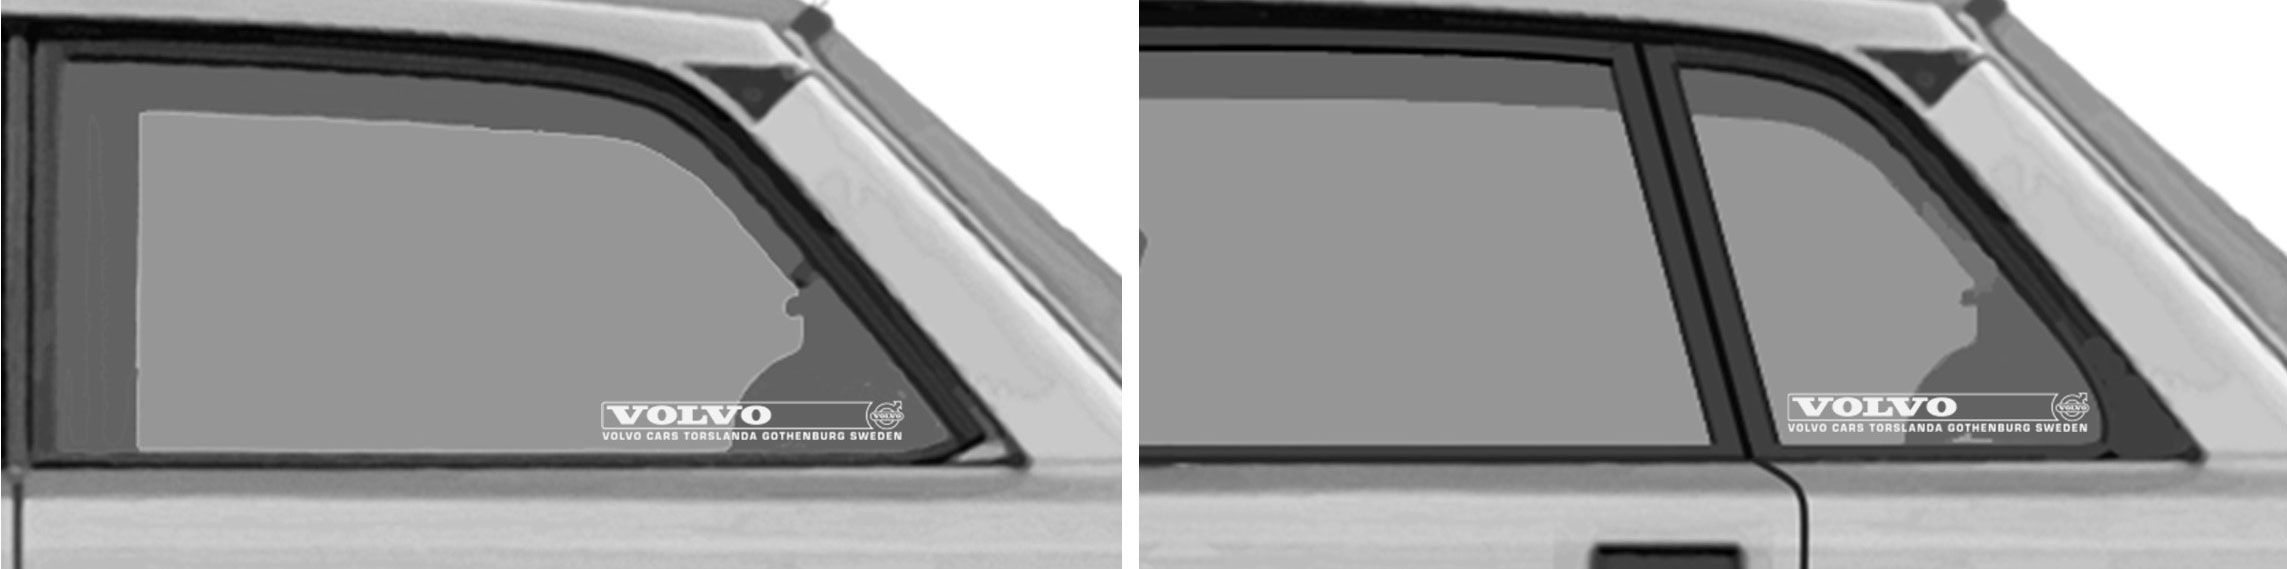
|
| 240 TORSLANDA DECALS |
| The 245 Torslanda was a special edition 240 produced late in the 245 production run (circa
1992-93). It appears that this version may have been only available in the U.K. and a couple other European countries. This model came with special Torlanda lower side stripes. 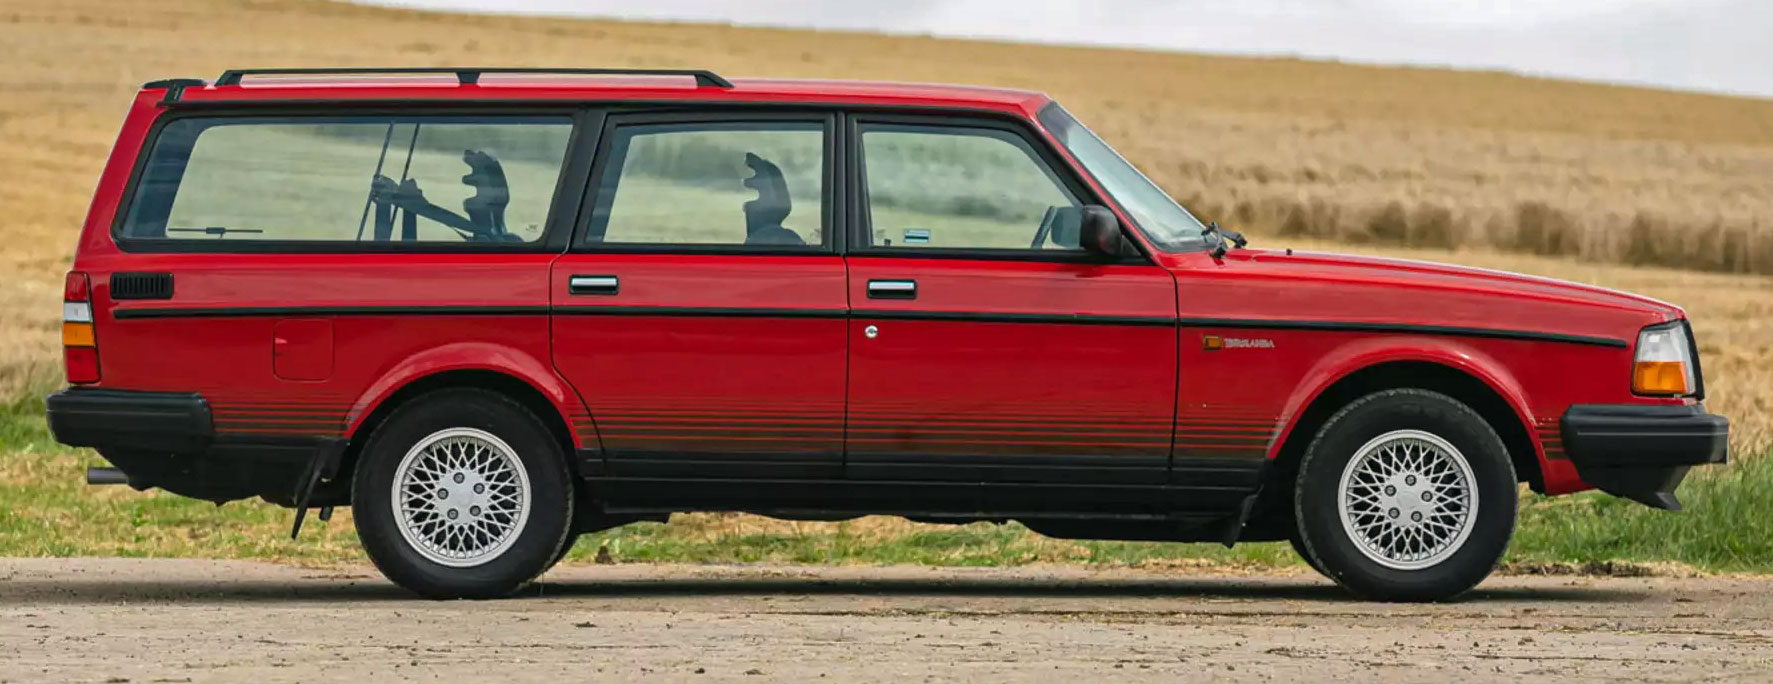
The vinyl color by default will be BLACK. If a different color is needed, please email. CONTACT 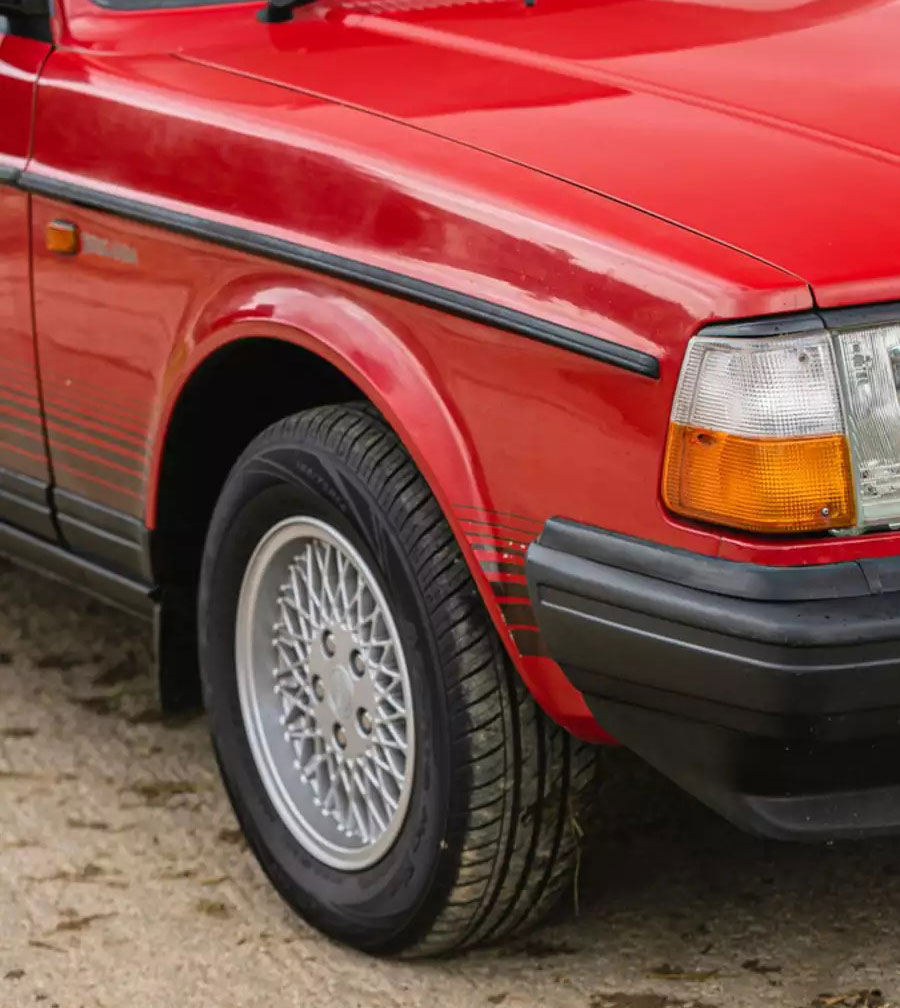 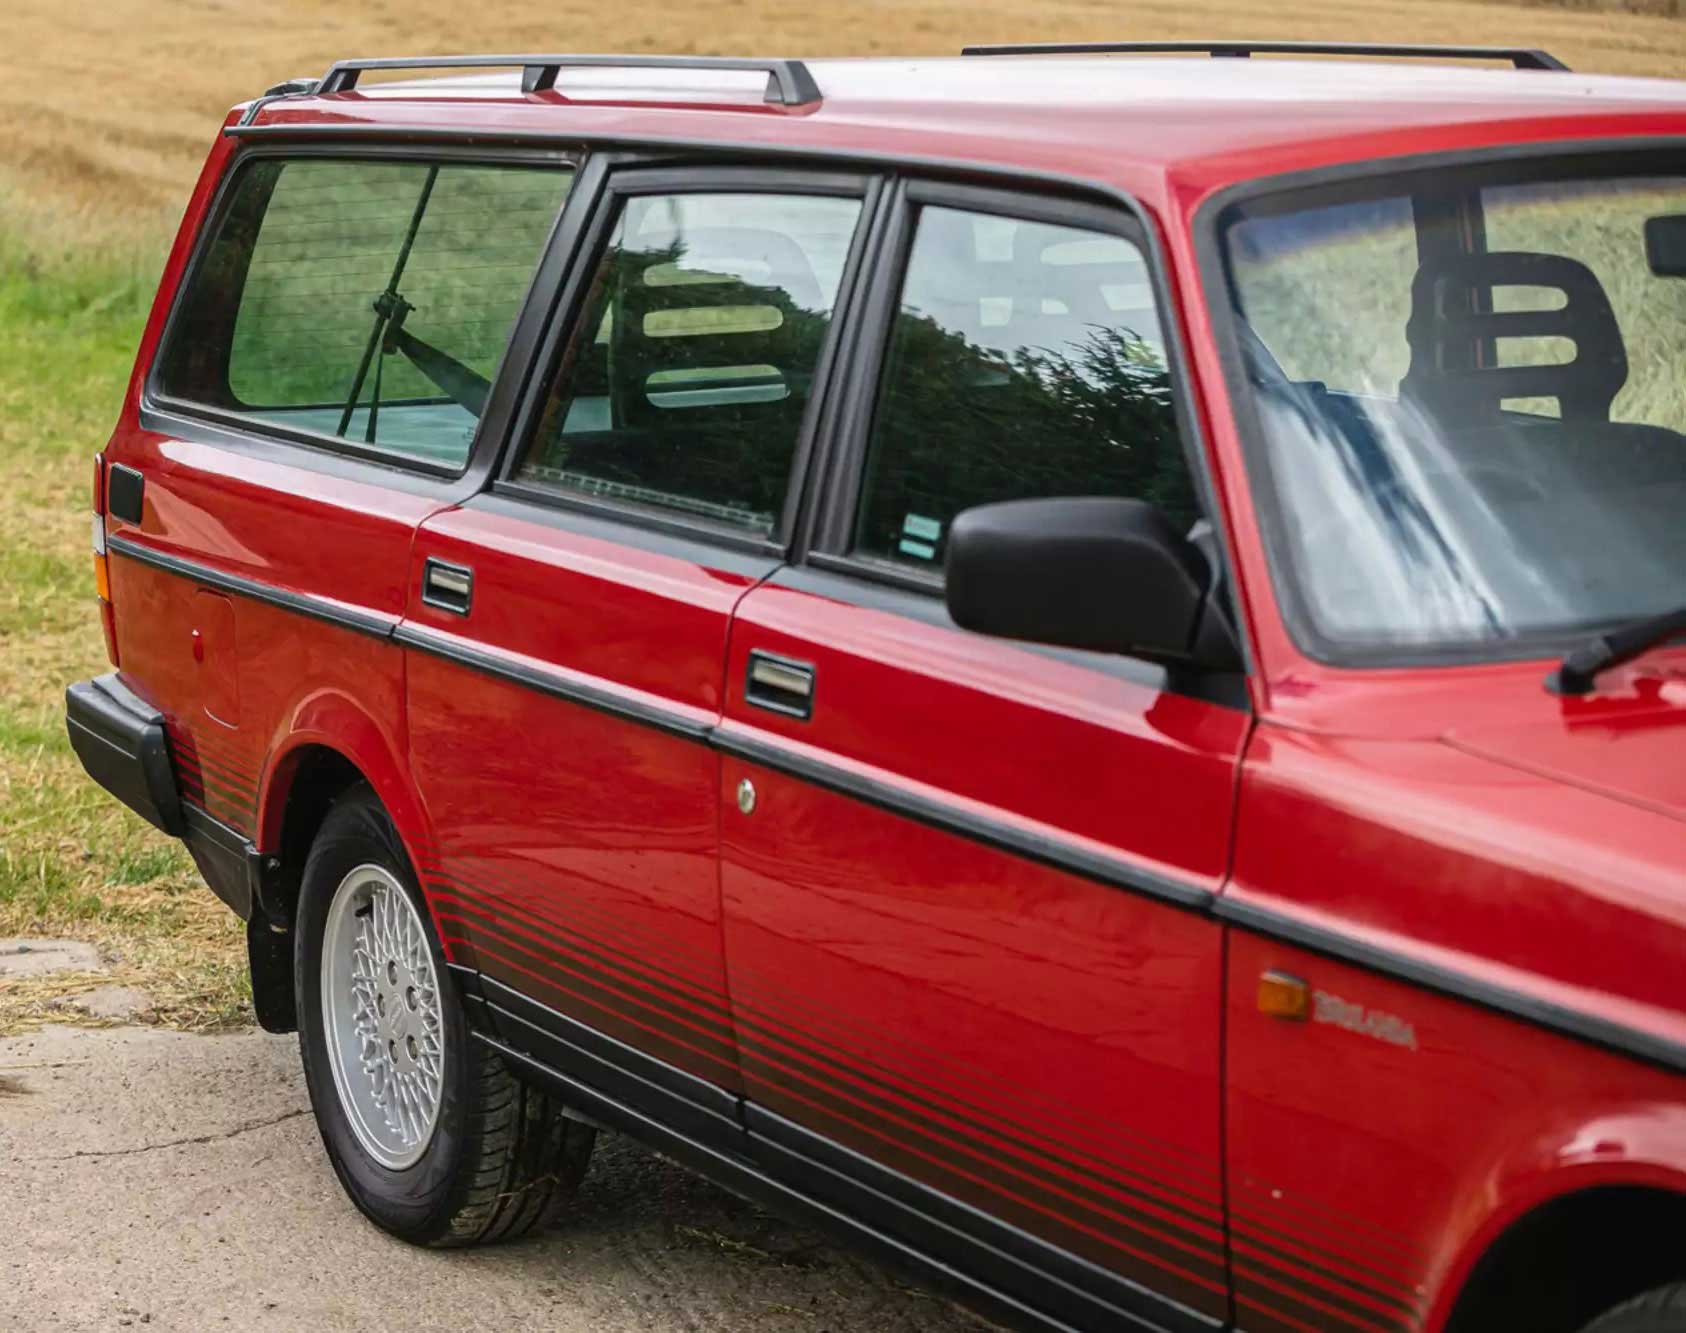 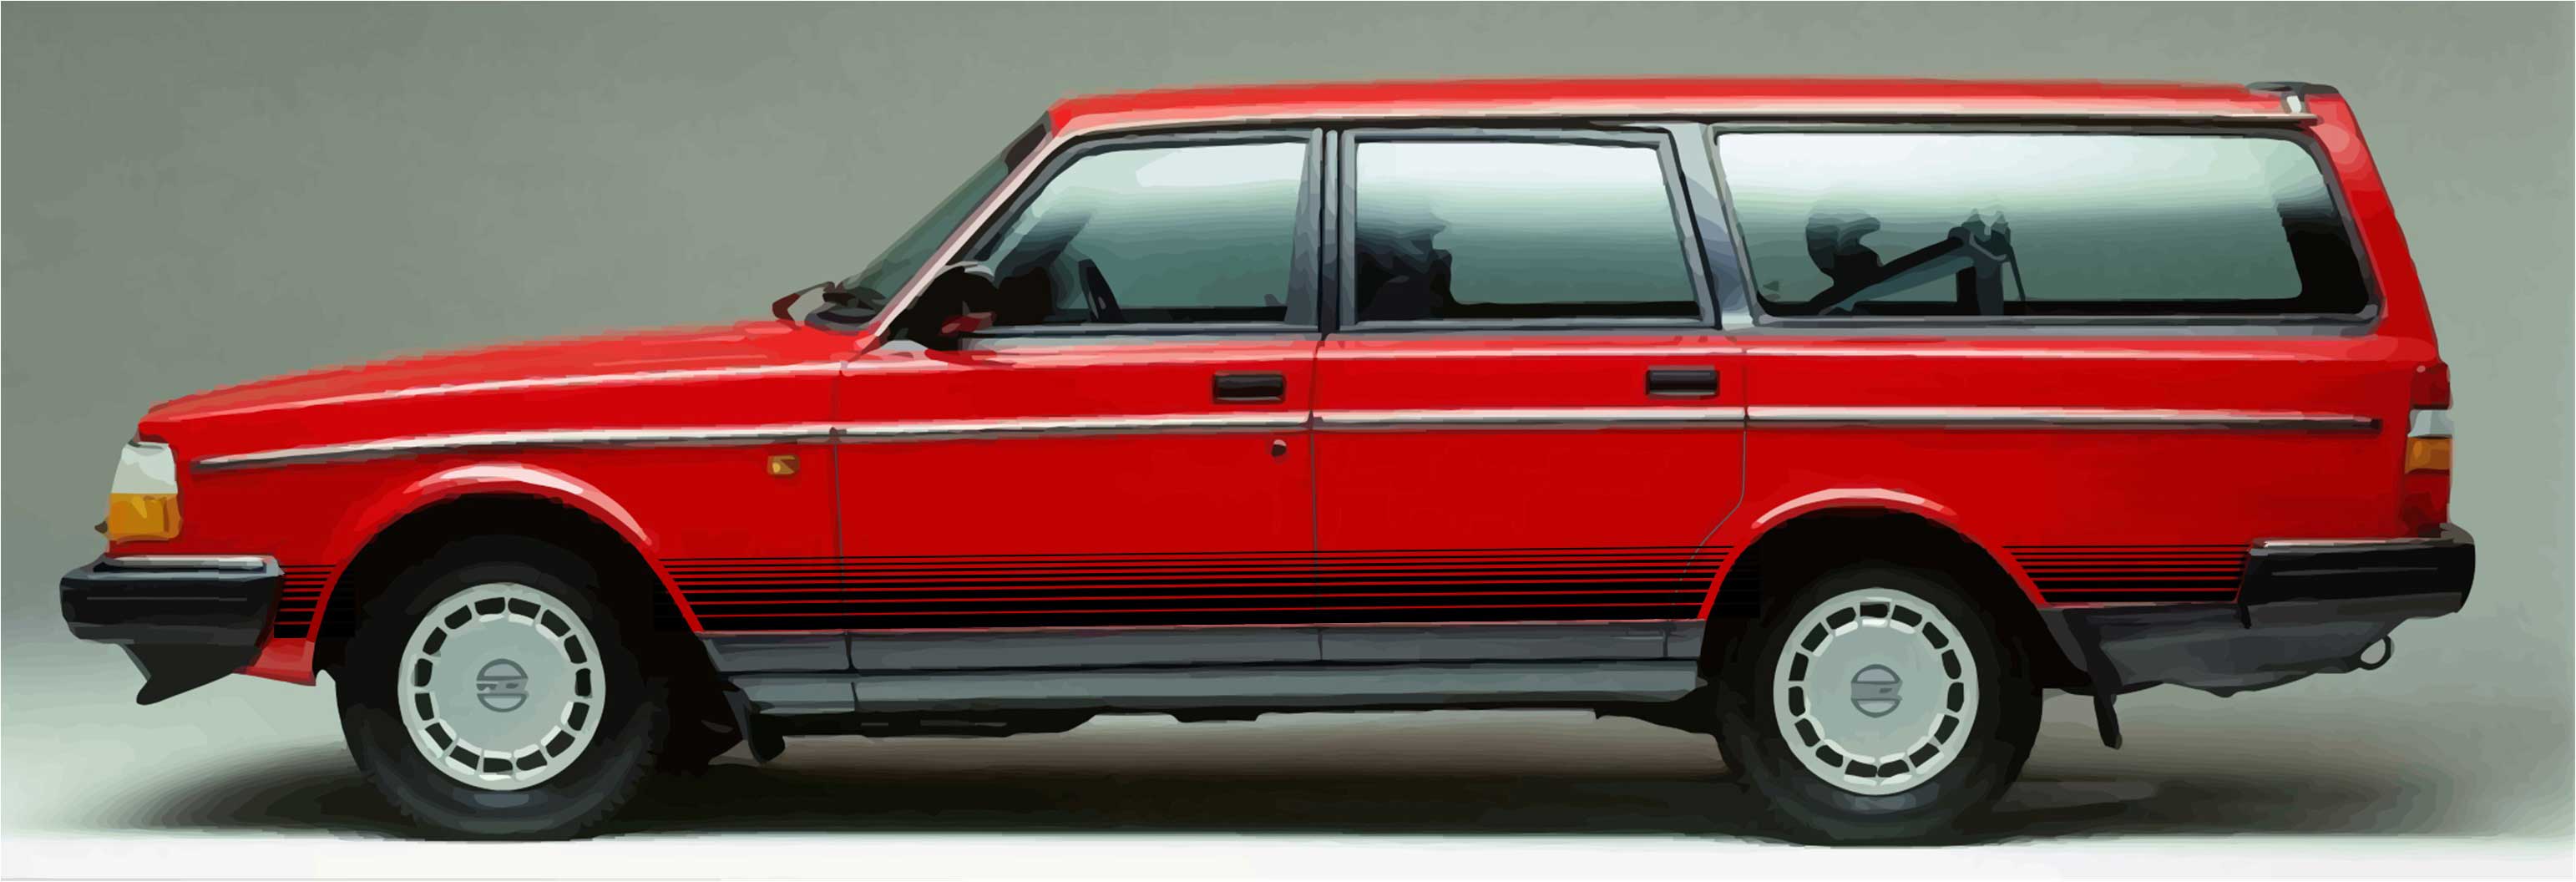 |
|
Before any installation begins, it can be a good idea to tape these on for test-fitting and aesthetic visualization before to see how they will line up. Installation using a “WET” method is recommended. The "WET" methods allows for adjustments AFTER the vinyl is in place, so it will be more forgiving. The "DRY" method requires near perfect alignment BEFORE you begin adhering the vinyl to the car. If you are not very experienced at this type of work, having someone with experience can be a big help. Don't try to install more than one door or panel at a time unless you're confident of success. More on these installation steps can be found in YouTube videos, plus I have some videos at the below link. Some VIDEOS and more DIE CUT instructions can be found at: https://www.prancingmoose.com/VolvoPrancingMoose2.html#diecutinstructions To prepare, clean the car surface thoroughly. A final wipe down with isopropyl alcohol is a good step too. Peel the back liner off of the vinyl decal, exposing the adhesive back. The wet method is my recommendation. The wet method involves wetting BOTH the car surface and decal adhesive surface with a water/soap solution. Use dish washing soap (not dish washer detergent) and it should use just a couple drops in a spray bottle of water. Spray the surfaces liberally and place the decal onto the car and slide the decal into position. If needed, you may lift the decal and re-wet. Once it’s in position, use a squeegee on the top mask liner surface to smooth out the decal and to push out water and air from under the decal. If the wet method is used, then let the decal dry enough before pulling off the top mask, so that when you pull it off the vinyl decal doesn’t lift off the car surface. Use a sharp knife to trim between the doors. This trimming should be exactly centered in the door opening. After the top mask is removed, the trimmed vinyl ends can be folded in and over the edges. It will be important to make sure those inner door edge surfaces are CLEAN before doing this. For the wheel openings, you may trim the stripes before they reach the opening as shown in the images. Or you can wrap them over the edge if you like. EACH SET WILL COME WITH FOUR PIECES. TWO PIECES PER SIDE. 
SOME VISUAL EXAMPLES BELOW. 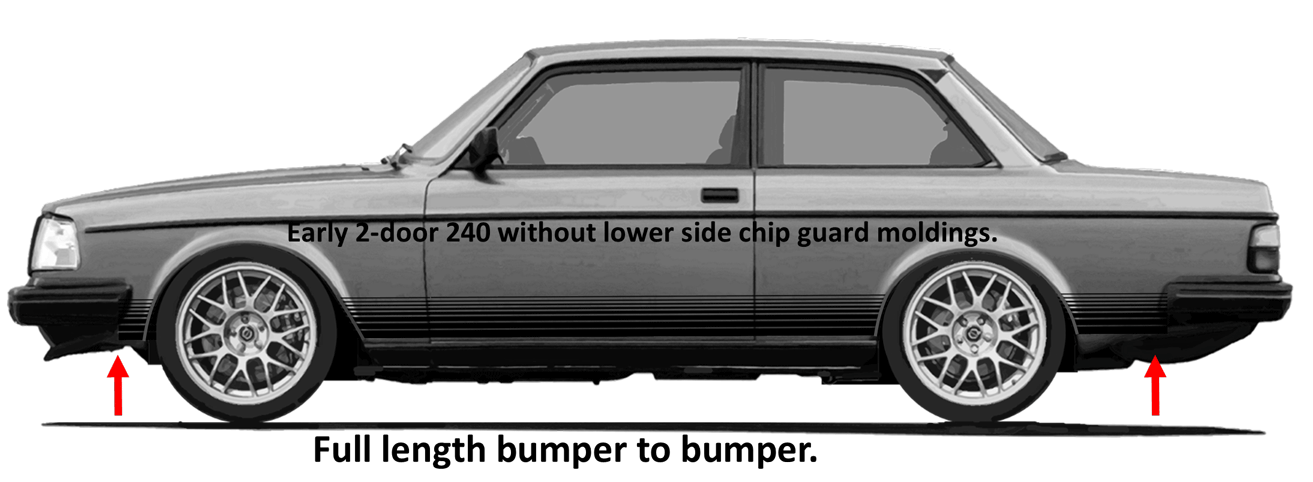 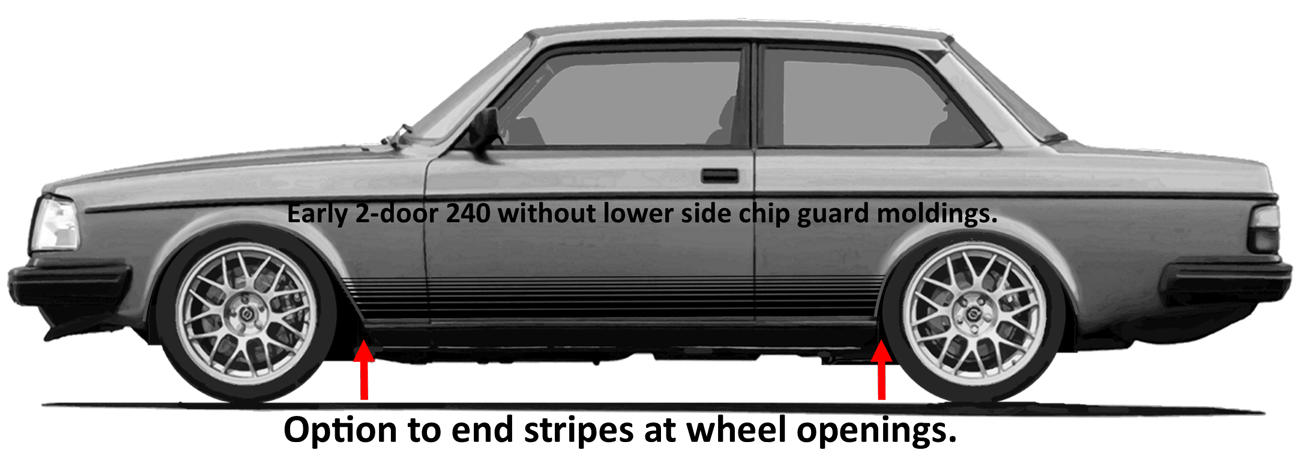 The installation is the same for any 240 2-door, 4-door or wagon, however my recommendations for positioning are different for early 240s versus later 240s with lower side chip guard moldings. 1986 and later 240 with lower side chip guard moldings. While setting the TOP of this stripe LEVEL along the car length, I recommend placing the bottom of the vinyl just above the molding pieces. It will help if your molding pieces are pretty straight and even. If you find the bottom of the vinyl interferes with portions of the lower side moldings, because the moldings are not perfectly level (this can happen most often behind the rear wheel opening), you may choose to trim the bottom of the vinyl where it meets the molding. This can be done as the installation progresses. 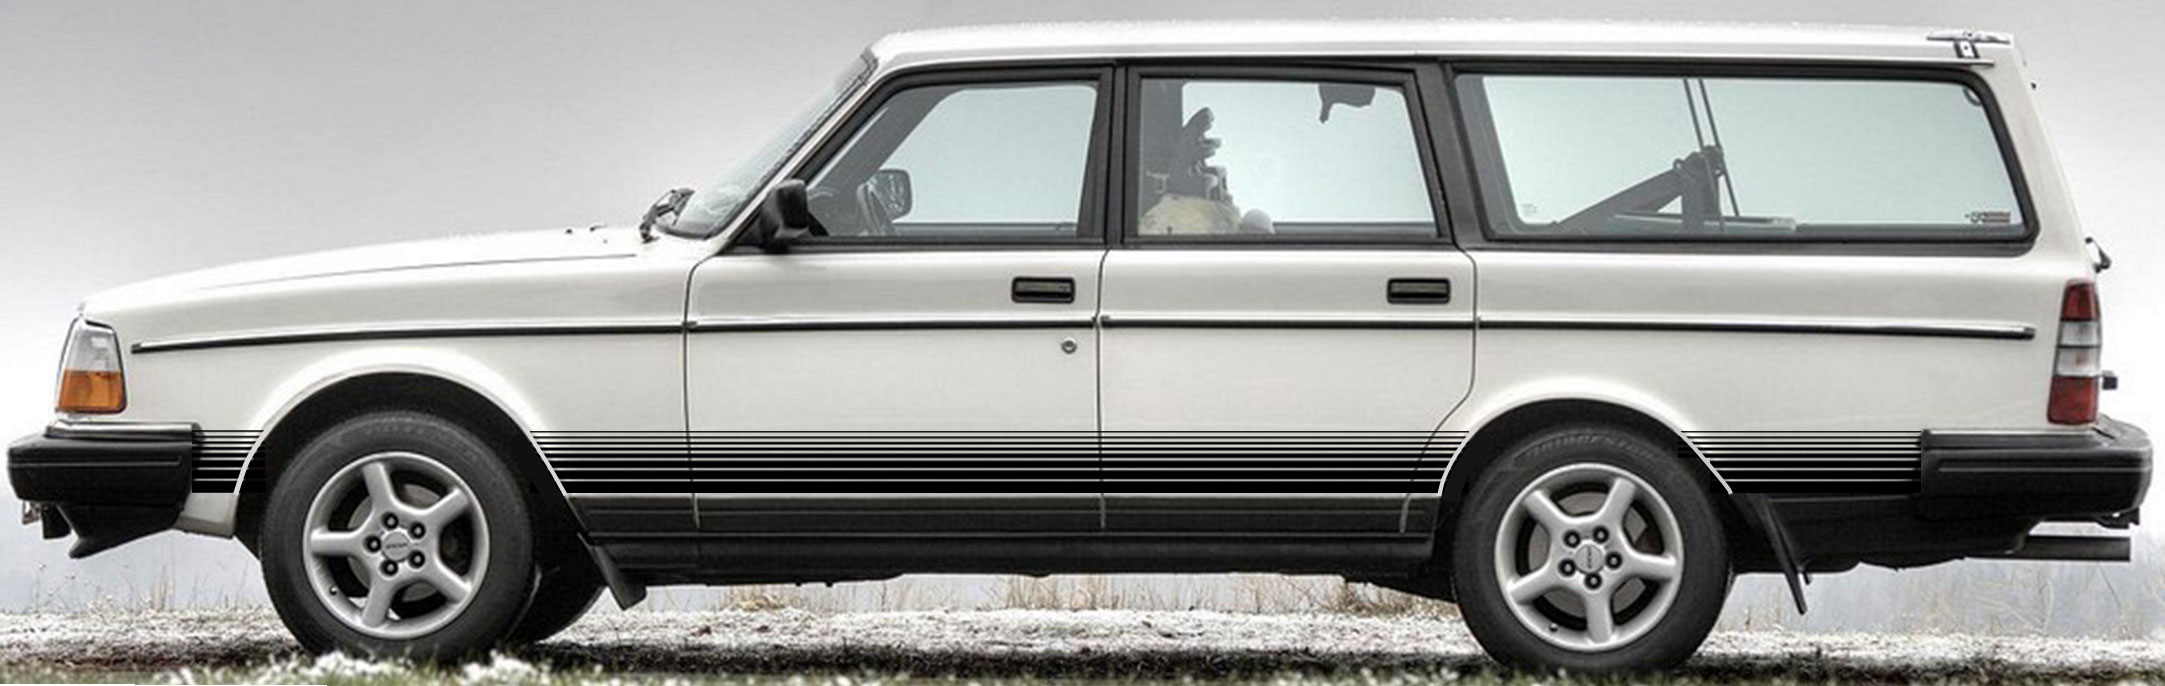 As an OPTION, if you prefer, you can remove the LOWER MOST vinyl stripe on the below pieces before installation. This reduces the height of the stripe, which may appear better to you if your car has these lower moldings. The lower stripe may be trimmed off with scissors before installation or it can be peeled off just before installation.  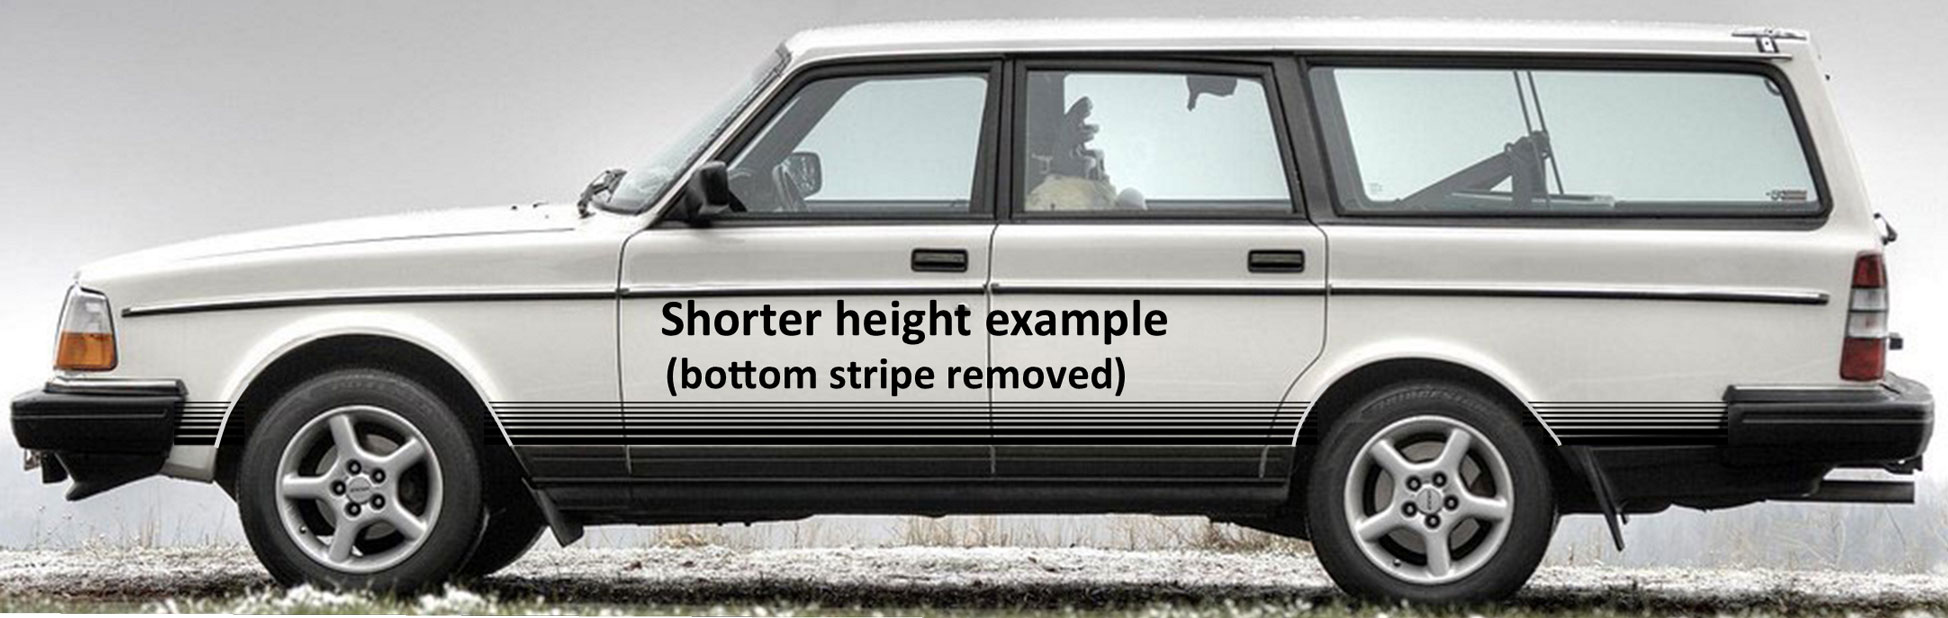 If you have questions, feel free to email me. CONTACT |
 |
|
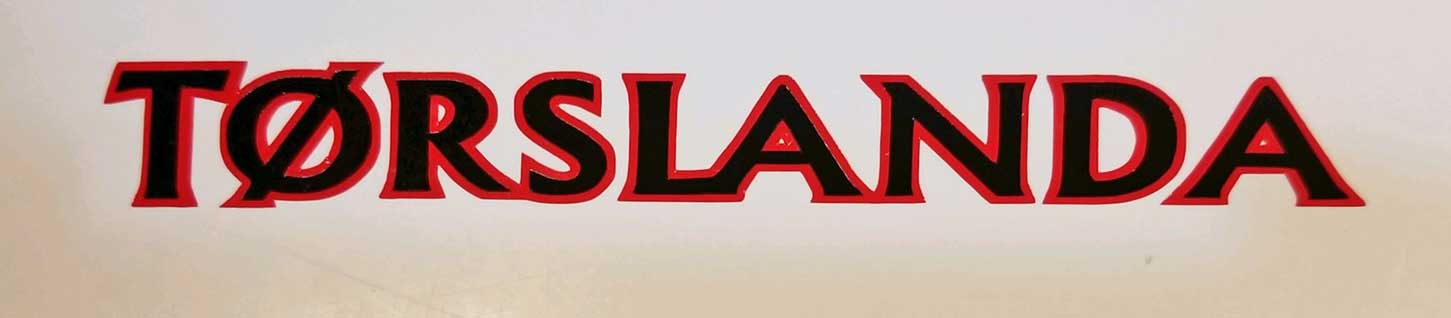
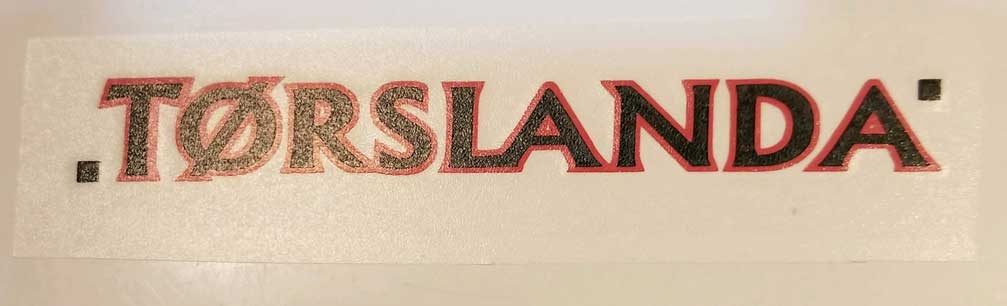
| Die
Cut Vinyl TORSLANDA body decal mounted on professional transfer material. TWO COLOR DECAL
|
|
| The 245 Torslanda was a special edition 240 wagon produced at the end of the 245 production run. It appears that it may have been only available in the U.K. and maybe a couple other European countries. It came with special TORSLANDA vinyl decals on the fenders (wings) and rear hatch in place of the model designation. 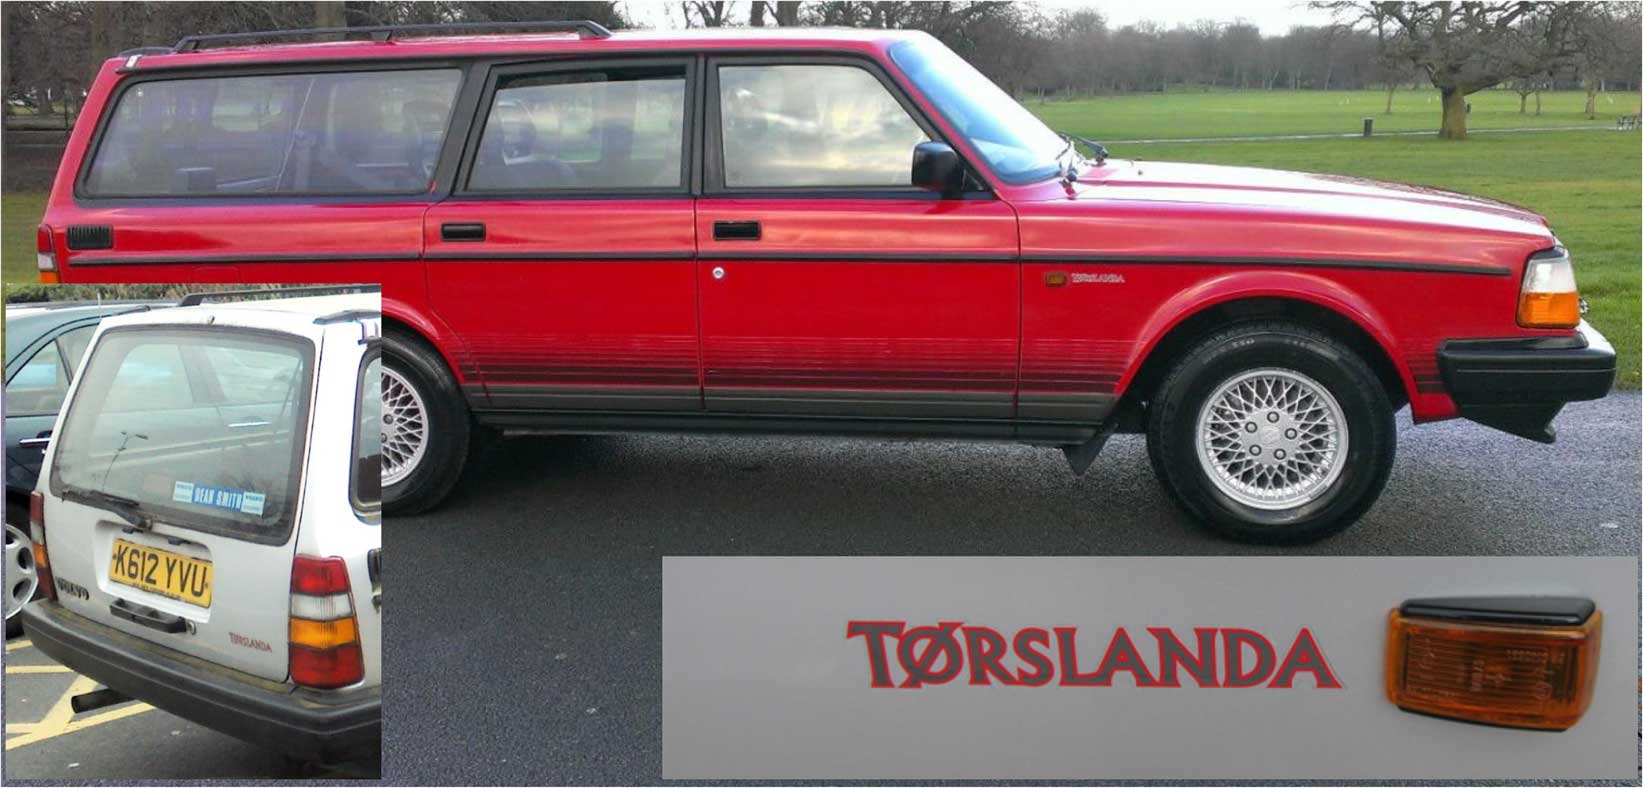
The 2-color reproduction TORSLANDA decals are available below. |
|
|
|
When done shopping, please proceed to SHIPPING: CLICK HERE Shopping cart and Check Out is at Bottom of Page 
When done shopping, please proceed to SHIPPING: CLICK HERE Shopping cart and Check Out is at Bottom of Page  When done shopping, please proceed to SHIPPING: CLICK HERE Shopping cart and Check Out is at Bottom of Page
|
|
|
 <<< Each decal set comes with one red and one black decal. These need to be installed separately, beginning with the red decal. <<< Each decal set comes with one red and one black decal. These need to be installed separately, beginning with the red decal. It's important to clean the surface that these will be installed on well. There are a few different techniques that can be used when installing to reduce the chances of air getting trapped under the decal. For more detailed information, see the links below. |
|
 <<< First install the red decal and carefully remove the top clear mask.
Be sure to also transfer the two red squares ahead and behind the text.
If you're not careful, those may be pulled off when removing the clear
top mask. Those two squares are needed to help you align the two
decal colors. <<< First install the red decal and carefully remove the top clear mask.
Be sure to also transfer the two red squares ahead and behind the text.
If you're not careful, those may be pulled off when removing the clear
top mask. Those two squares are needed to help you align the two
decal colors. |
|
 <<< Carefully align and place the
black decal over the red decal. Use the small squares to help
align them, but also pay close attention to how centered the black color
is on top of the red base decal. <<< Carefully align and place the
black decal over the red decal. Use the small squares to help
align them, but also pay close attention to how centered the black color
is on top of the red base decal. |
|
| <<< The last step is to carfully remove the top clear mask. Then remove the small squares. |
|
| Detailed
instructions for Die Cut Decals here: diecutinstructions |
|
|
|
|
| White Decals Available Below |
|
 |
|
| Die
Cut Vinyl TORSLANDA outline decal mounted on professional transfer material. Typically mounted on a window. SIZES: 5 x 0.7 inches (127 x 18 mm) Price: $4.00 each (WHITE) 10 x 1.4 inches (254 x 36 mm) Price: $8.00 each (WHITE) |
|
When done shopping, please proceed to SHIPPING: CLICK HERE Shopping cart and Check Out is at Bottom of Page |
| Detailed
instructions for Die Cut Decals here: diecutinstructions |
| Volvo
Ocean Race Stickers |
| Version
1: These are flat printed
vinyl with high-gloss laminate finish with adhesive backing. The original raised car badge was about 30 x 30 mm. SIZE: 30 x 30 mm (1.2 x 1.2 inches): $2.00 ea SIZE: 51 x 51 mm (2 x 2 inches): $3.00 ea SIZE: 76 x 76 mm (3 x 3 inches): $5.00 ea |
VOR Version 1 |
| Version
2: These are flat printed
vinyl with high-gloss laminate finish with adhesive backing. The original raised car badge was about 65 x 65 mm and appeared on 2006 Volvo Ocean Race models. SIZE: 30 x 30 mm (1.2 x 1.2 inches): $2.00 ea SIZE: 51 x 51 mm (2 x 2 inches): $3.00 ea SIZE: 65 x 65 mm (2.5 x 2.5 inches): $4.00 ea SIZE: 76 x 76 mm (3 x 3 inches): $5.00 ea |
VOR Version 2 |
| Version
3: These are flat printed
vinyl with high-gloss laminate finish with adhesive backing. This style appeared on 2002 Volvo Ocean Race models. SIZE: 30 x 30 mm (1.2 x 1.2 inches): $2.00 ea SIZE: 51 x 51 mm (2 x 2 inches): $3.00 ea SIZE: 76 x 76 mm (3 x 3 inches): $5.00 ea |
VOR Version 3 |
| VOLVO
CANNONDALE |
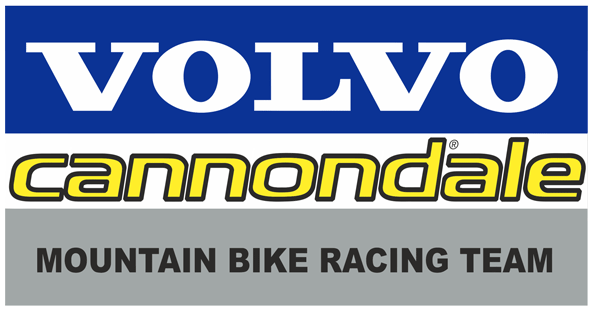 Made as a
reproduction of the Volvo Cannondale Mountain Bike Racing Team sticker. Made as a
reproduction of the Volvo Cannondale Mountain Bike Racing Team sticker. Printed vinyl with adhesive back. With magnetic back or as a Reverse Inside Window Decal. SIZES: 3 x 1.5 inches (76 x 38 mm) $3.00 ea 5 x 2.6 inches (127 x 66 mm) $4.00 ea 6 x 3.2 inches (152 x 81 mm) $6.00 ea 8 x 4.2 inches (203 x 107 mm) $10.00 ea |
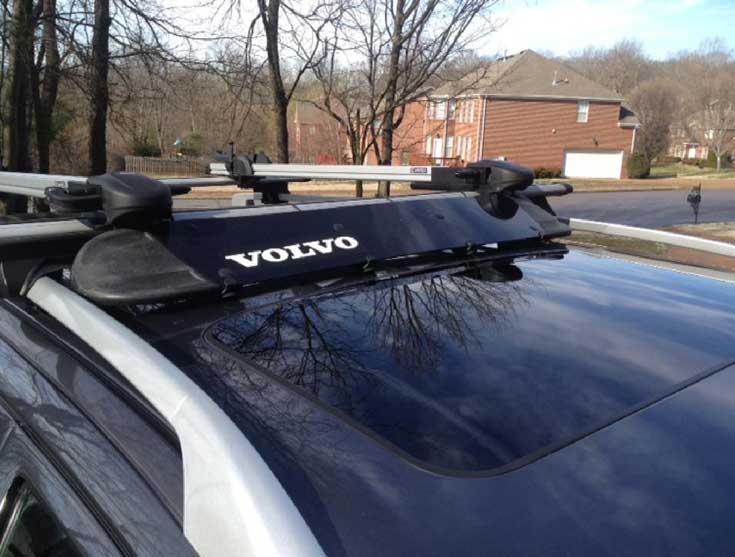
| THULE
ROOF FARING OVERLAY STICKER |
 |
|
   |
|
| This began as a special request, so I decided to offer some here.
This is a self-adhesive sticker with a matte black finish. It will change the "THULE" to "VOLVO" or "VOLVO Racing" or "VOLVO THULE." It measures 8.75 x 2.25 inches (222 x 57 mm). $8.00 ea. |
| FOG LIGHT COVER OVERLAY STICKERS |
| These are sticker overlays meant to cover a flat plastic fog light cover. The size for this overlay is 6.75 x 3.25 inches (about 172 x 83 mm). They will have a matte finish. I believe there were more than one size for the lamps that were used, so check your measurements.  
|
| ORDER MENU |
| Shipping options: CLICK
HERE Shopping cart and Check Out is at Bottom of Page |
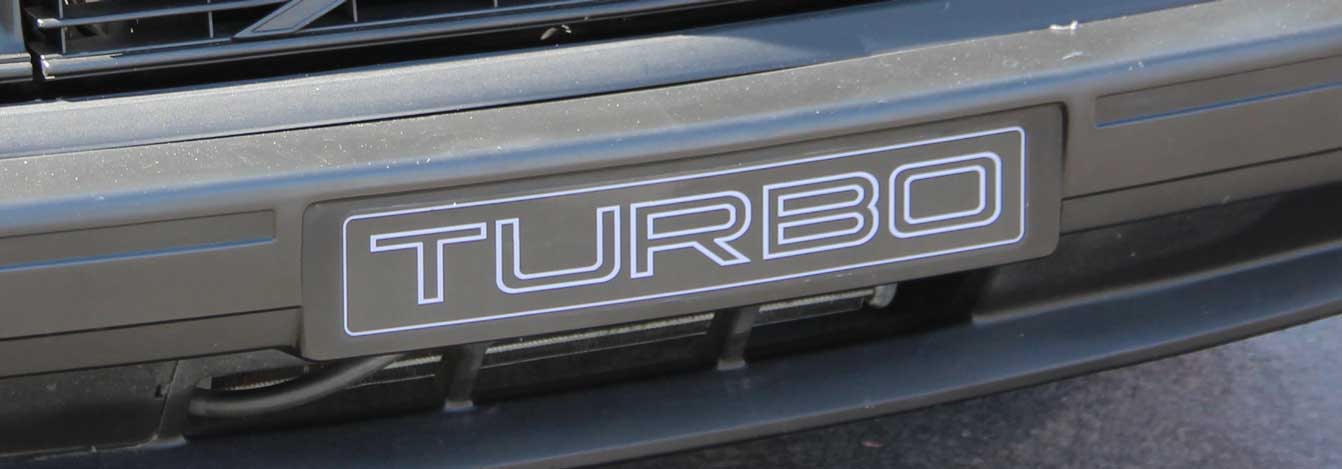
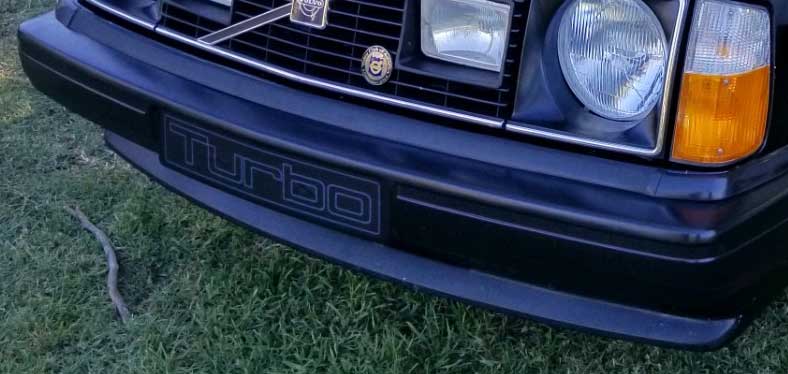
| Custom Front
Bumper Labels 240, 740 and Others. |

|
||
Style 1.
240 TURBO Gray Text |
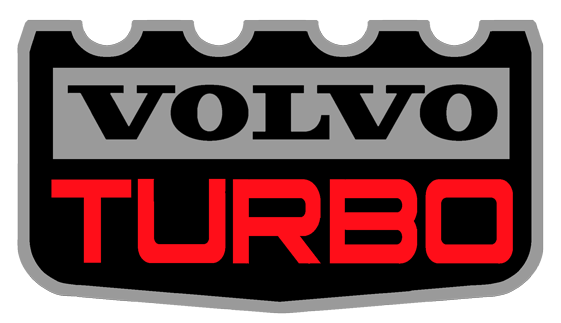
Style 2.
242 TURBO Gray Text |
|
Style 3.
TURBO Gray Text |
Style 4. Turbo White
Text (or other colors) |
|
Style 5.
Turbo White
Text (or other colors) |
Style 6.
240 Turbo Outline DARK
Gray Text |
|
Style 7.
TURBO DARK
Gray Text |
Style 8.
240 WAGON Gray Text |
|
Style 9.
242 Turbo Outline Gray
Text |
Style 10.
242 Turbo Gray and Red
Text  |
|
Style 11.
242 Turbo Outline DARK GRAY
Text |
Style 12. 242 GT White
Text (or other colors) |
|
Style 13. 242 EVO Gray
Text |
Style 14. 244 Turbo White
Text (or other colors) |
|
Style 15. TORSLANDA (click here for more Torslanda) |
Style 16
245 Turbo White
Text (or other colors) |
|
Style 19.
240 DL Gray
Text  |
Style 20.
240 (later style) Gray
Text |
|
Style 21.
240 White Text (or other colors)  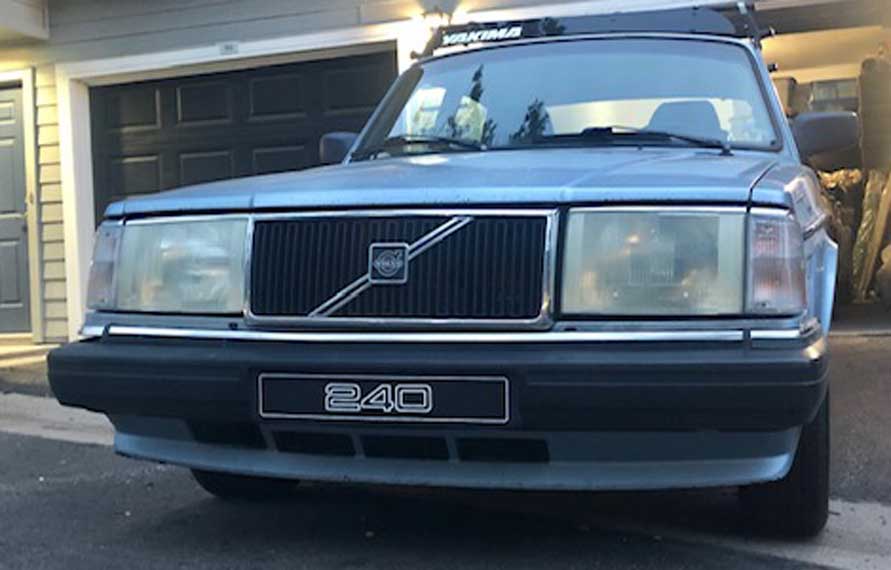 |
Style 22.
242 GRAY Text |
|
Style 23.
244 Gray Text |
Style 24.
245 Gray Text |
|
Style 25.
245 CLASSIC White Text |
Style 26.
240 CLASSIC Carbon Fiber background |
|
Style 27.
240 CLASSIC Gray text |
Style 28.
Eggenberger Motorsport Custom
|
|
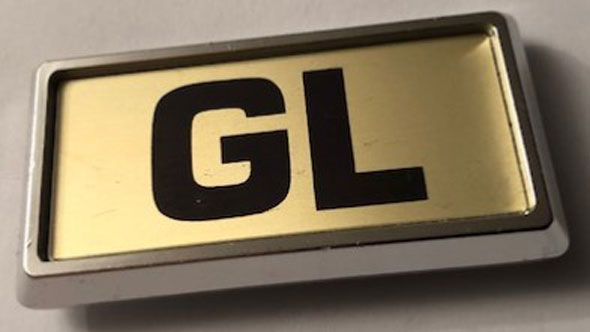
Style 29. 240 GL Gray
Text  |
Style 30. 244 GL Gray
Text  |
|
Style 31. VOVO RACING White Text |
Style 32. 740 TURBO Gray text |
|
Style 33. VOVO IN SPORTS White Text (no outer border)
|
Style 34. 940 TURBO Gray text |
|
Style 35. 740 Turbo White Text (or other colors) |
Style 36. 780 BERTONE Gray Text |
|
Style 37. 420 DL White Text (or other colors) |
Style 38. 850 R Gray Text |
|
Style 39. C30 TURBO Gray Text |
Style 40. V70 Gray |
|
Style 41. V70 ESTATE Gray |
Style 42. S60 T6 White text (or other colors) no border. |
|
Style 43. VOVO MOM Purple Text (or other color)
|
Style 44. pol*star rebel blue text (no outer border) |
|
OPTIONAL SPECIAL SIZES FOR EUROPEAN PLATES I don't offer license plates, but I can offer these labels in a size that fits one. Special label sizes can be made to replicate or fit the correct size for a European license plate if you prefer. This will allow you to place this label on a flat metal piece or blank European plate. Blank plates can be found from places such as www.customeuropeanplates.com. I suggest choosing an all black plate or all black material if you'll be using one of the above designs. You may also choose to eliminate the printed outer white or gray border seen on any design. Please note that in a comment in the order or you may send a separate email. The standard outside dimensions for a European plate is 520 x 111 mm (about 20.5 x 4.4 inches)  If you will be using a plate or other flat material that is COMPLETELY FLAT (no raised border), you may choose a label size of 520 x 111 mm. Here's an example ABOVE of one of the above designs in size 520 x 111 mm. If you will be using a plate with an RAISED BORDER, like this one pictured ABOVE, the label should be sized to fit on the INSIDE of that border, which is about 504 x 97 mm (about 19.8 x 3.8 inches). This size can be chosen below if needed. PLEASE EMAIL IF YOU HAVE QUESTIONS 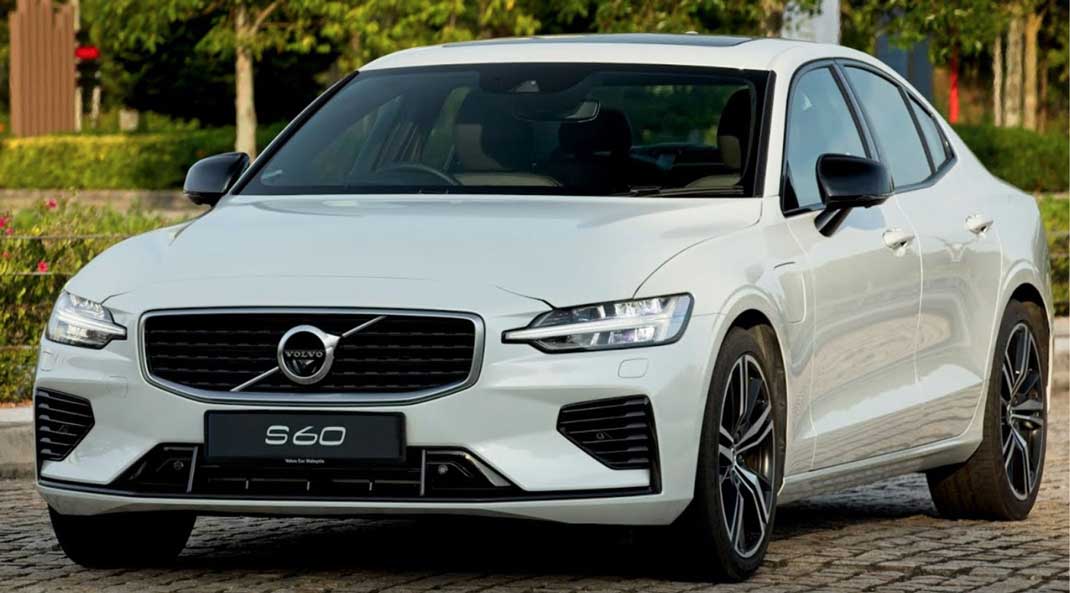 |
||
|
|
|
||
Style 50.
242 GT White
Text. 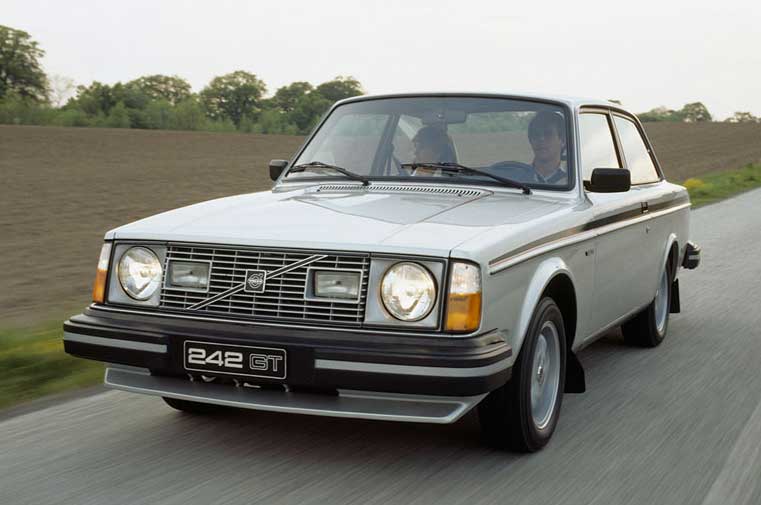 |
Style 51.
242 GT Gray
Text |
|
Style 52.
242 GT Gray
Text (or other colors), ORANGE GT.  |
Style 53.
242 DL White
Text (or other colors) |
|
Style 54.
244 TURBO White
Text (or other colors)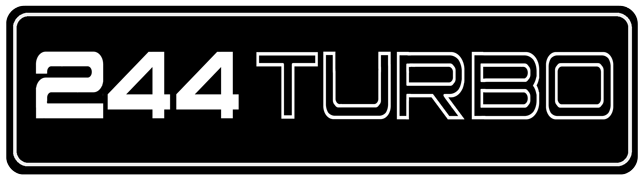 |
Style 55.
Turbo Gray
lower case text. |
|
Style 56.
242 TURBO White Text (or other colors) |
Style 57.
242 TURBO Gray and Red Text (or other colors) |
|
Style 58.
242 Turbo Outline lower case DARK GRAY |
Style 59.
TURBO Gray Text (or white text)
|
|
Style 602.
Turbo lower case White Text (or other colors) |
Style 61.
242 GLT Gray
Text (or white text) |
|
Style 62. 264 White Text 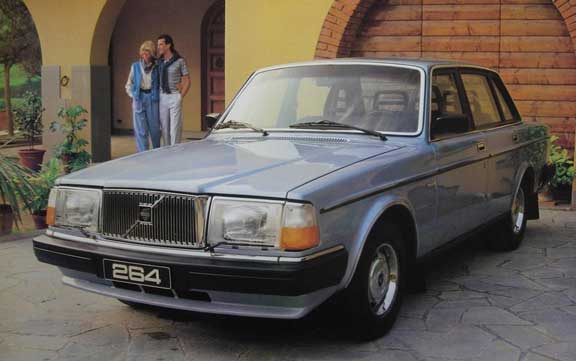 |
Style 63. 264 Vovo in Sports white text. |
|
| PRICES
for ANY design above (or ANY custom design): 20 x 3.5 inche sizes (about 508 x 89 mm): $24.00 12 x 3.5 inche sizes (about 305 x 89 mm): $16.00 |
||
| These labels
are printed on
self-adhesive backed vinyl and covered with
matte non-glare UV finish. Installation Caution: It is important to clean the surface well before applying any sticker to a plastic bumper. I recommend using an appropriate degreaser or solvent that will remove any oils or vinyl dressing residue before installing. |
||
| ORDER MENU BELOW |
|
CUSTOM
Front Bumper Label, Matte Finish.
Choose a style above or request custom text or colors. You may email me if you have any questions: CONTACT Menu for Long 20 inch wide Labels. Menu for Short 12 inch wide Labels. Menu for Special Euro Plate Sized Labels. Shipping options: CLICK HERE |
| I LOVE MY
VOLVO STICKER |
| |
| Re-creation
of the original "I Love My Volvo" stickers Volvo made many years
ago. Original size 7.5 inches long: $8.00 Smaller 5 inches long: $5.00 |
|
|
| |
Included with your purchase will be a few extra letters that you may use for any other projects you might have. |
|

|
|
| Special Die Cut "I Love My VO" decal. Provided as two pieces because this is two colors; Red heart and White text. No background. Mounted on professional transfer material. Adhesive on back. Perfect for mounting on glass. SIZE: 4 inches wide x 1.1 inches tall (102 x 28 mm): $4.00 ea SIZE: 6 inches wide x 1.6 inches tall (152 x 41 mm): $6.00 ea SIZE: 10 inches wide x 2.7 inches tall (254 x 69 mm): $9.00 ea |
|
| When
done shopping, please proceed to SHIPPING: CLICK
HERE Shopping cart and Check Out is at Bottom of Page |
|
Included with your purchase will be a few extra letters that you may use for any other projects you might have.  |
|
| Installation instructions for die cut
decals: diecutinstructions |

| VOLVO
FOR LIFE |
 |
|
STYLE #1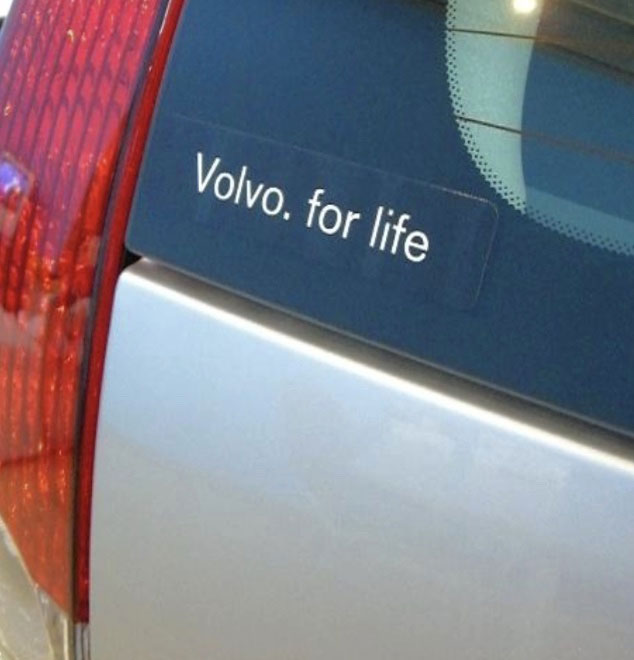 "Volvo. for life" Style 1 sticker. Black. SIZE: 100 x 24 mm: $4.00 ea Printed self-adhesive vinyl with gloss UV lamination, OR with magnetic backing, OR as a Reverse Inside Window Decal. |
 |
|
STYLE #2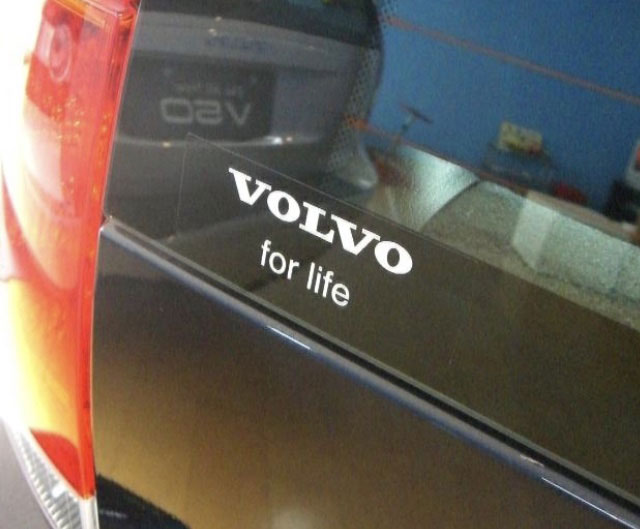 "VOLVO for life" Style 2 sticker. Black. SIZE: 100 x 37 mm: $4.00 ea Printed self-adhesive vinyl with gloss UV lamination, OR with magnetic backing, OR as a Reverse Inside Window Decal. |
|
|||
| Style 50. For Every Gallon You Save 242 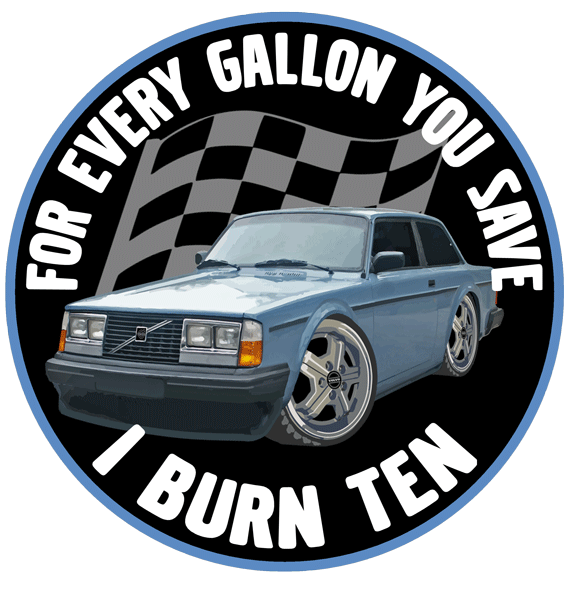 |
Style 51. For Every Gallon You Save 242 GT 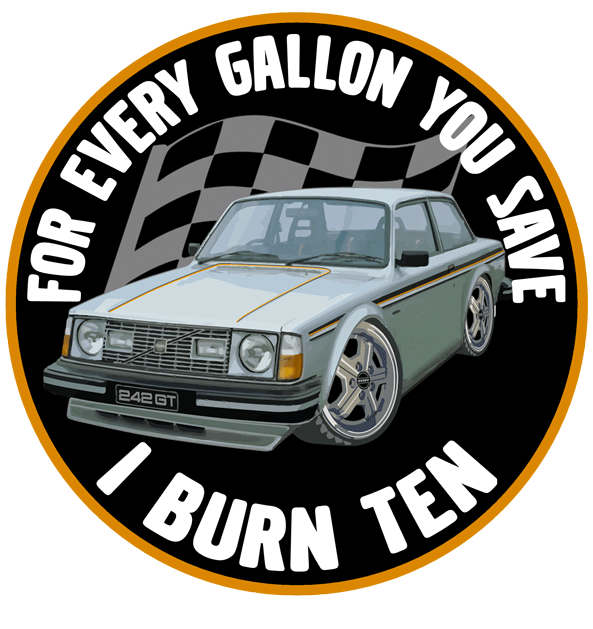 |
Style 52. For Every Gallon You Save 245 
|
|
| Style 53. For Every Gallon You Save 240 Turbo 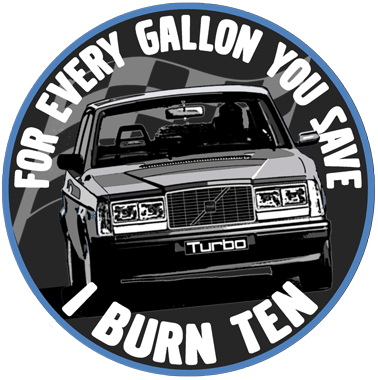 |
Style 54. For Every Gallon You Save 740 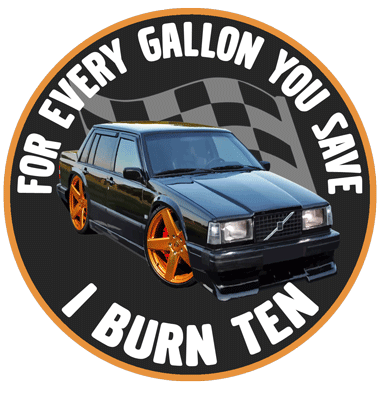
|
Style 55. For Every Gallon You Save 940 Sedan 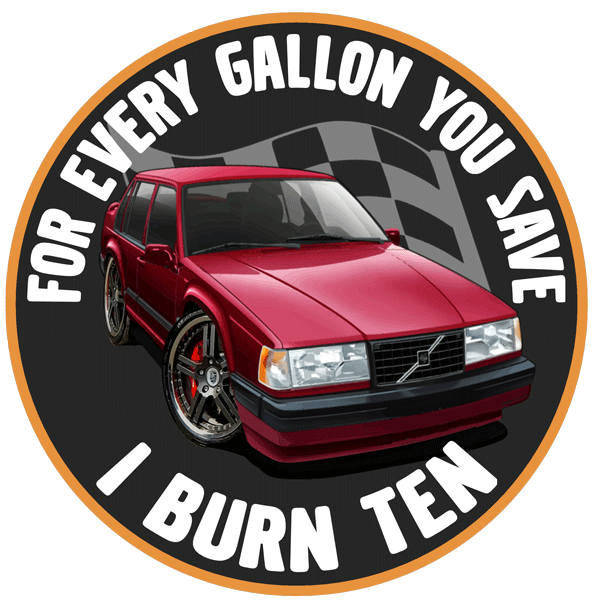 |
|
| Style 56. For Every Gallon You Save XC90 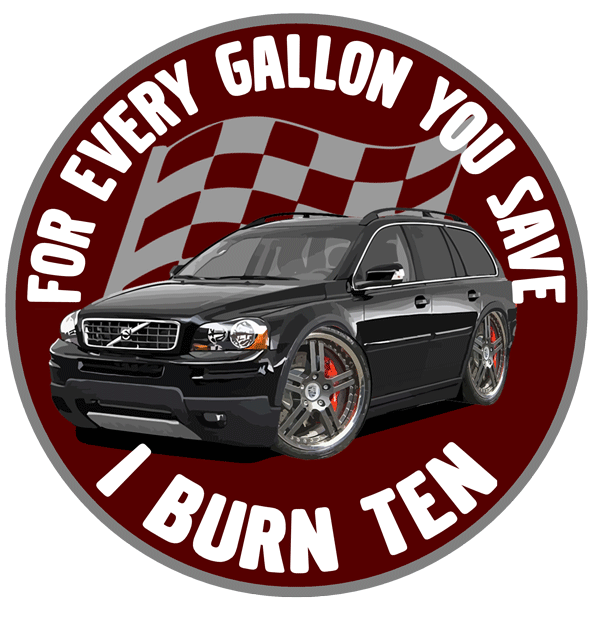 |
Style 57. For Every Gallon You Save C30 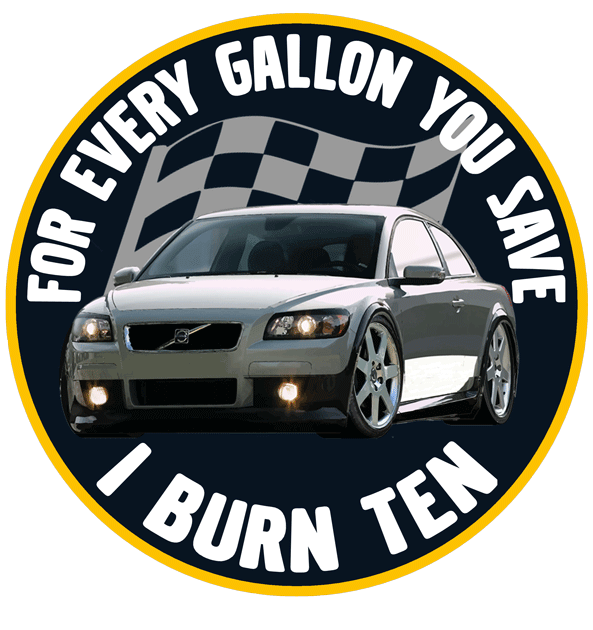
|
Style 58. For Every Gallon You Save 940 Wagon  |
|
| ORDER HERE FOR EVERY GALLON YOU SAVE, I BURN 10 SIZE: 3 inches (76 mm): $5.00 Available as a vinyl sticker with high-gloss finish, optional with magnetic backing, or as an inside window reverse decal. |
| When
done shopping, please proceed to SHIPPING: CLICK
HERE Shopping cart and Check Out is at Bottom of Page |
|
|||
Style 60. Vintage Style 242 GT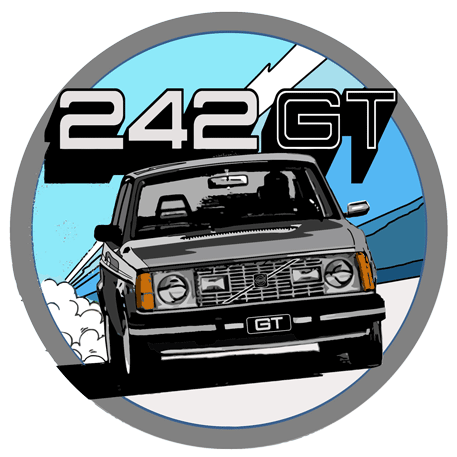 |
Style 61. Vintage Style 240 Turbo USA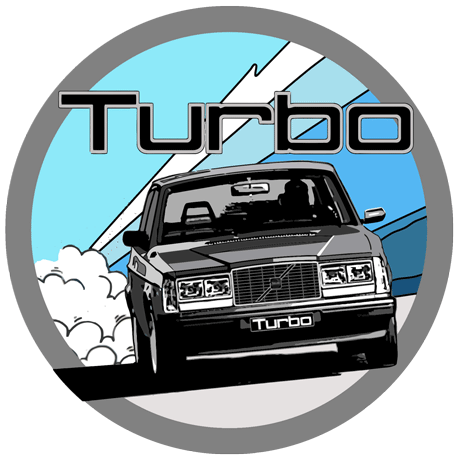
|
Style 62. Vintage Style 240 Drivers Club
|
|
Style 63. Vintage Style 242 GT |
Style 64. Vintage Style 240 Turbo USA |
Style 65. Vintage Style 240 Drivers Club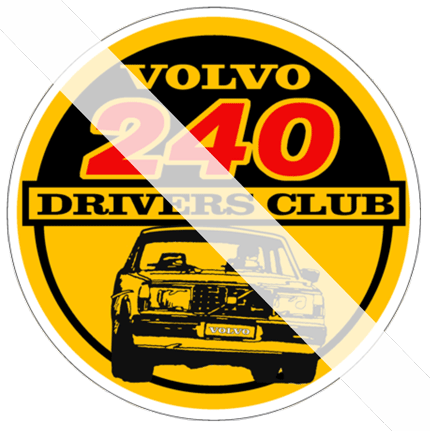 |
|
Style 66. Vintage Style 242 Turbo Flathood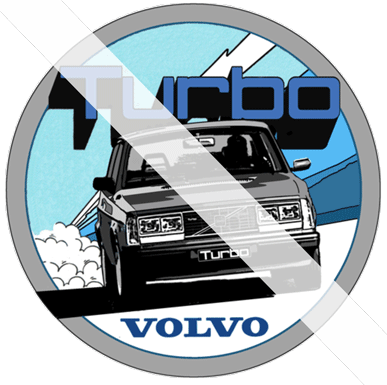 |
Style 67. Vintage Style 240 Turbo Europe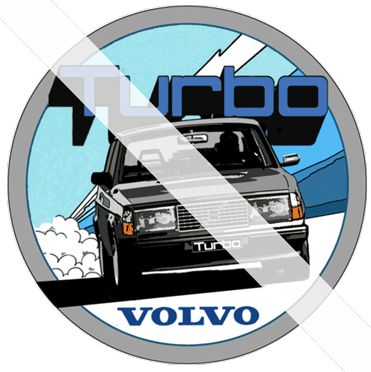 |
Style 68. Gas Equals Freedom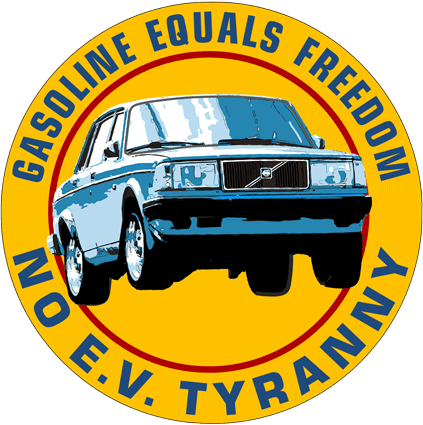
|
|
| Style 69. 240 Early Style RUINED MY LIFE CLUB  |
Style 70. 240 Turbo RUINED MY LIFE CLUB  |
Style 71. 240 Later Style RUINED MY LIFE CLUB  |
|
Style 72. 240 FULL SVEND |
|||
| ORDER HERE Vintage Style 240 and 260 Stickers. SIZE: 2.5 inches (63 mm): $5.00 SIZE: 3.5 inches (89 mm): $6.00 Available as a vinyl sticker with high-gloss finish, optional with magnetic backing, or as an inside window reverse decal. When done shopping, please proceed to SHIPPING: CLICK HERE Shopping cart and Check Out is at Bottom of Page |
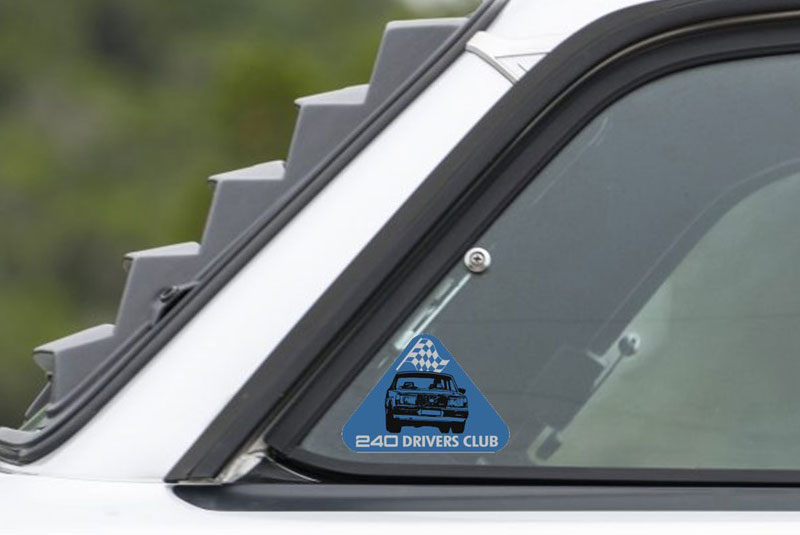
| 240 Drivers Club Triangle |
|
||
Early "240" Style Text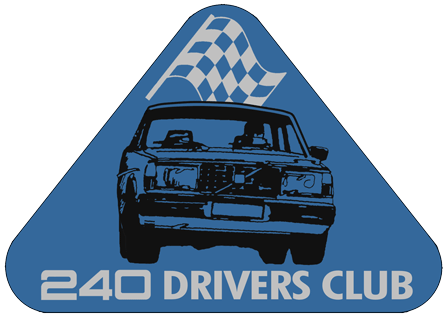 |
Late "240" Style Text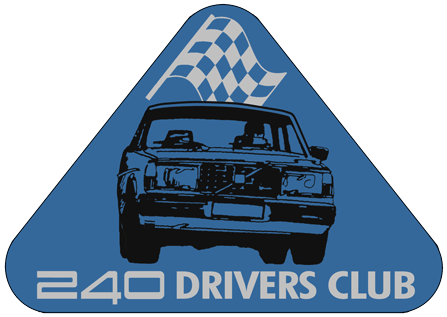 |
|
240 DRIVERS CLUB Triangle TWO SIZES: 4 x 2.8 inches (102 x 71 mm): $5.00 each 5 x 3.5 inches (127 x 89 mm): $6.00 each When done shopping, please proceed to SHIPPING: CLICK HERE Shopping cart and Check Out is at Bottom of Page |
 |
| MY OTHER
CAR IS A VOLVO |
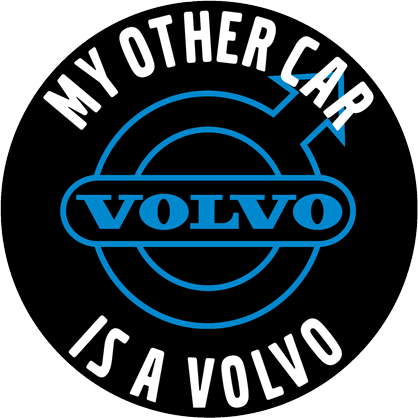 Size: 3 inches; $5.00 |
| MY OTHER
VOLVO IS A VOLVO |
| OLD
LOGO
#1 |
LOGO
#2 |
NEWER LOGO
#3 |
|
 |
 |
 |
|
|
|||


|
|
|
DIE CUT DECAL
|
|
When done shopping, please proceed to SHIPPING: CLICK HERE Shopping cart and Check Out is at Bottom of Page |
DIE CUT DECAL
|
|
When
done shopping, please proceed to SHIPPING: CLICK
HERE
|

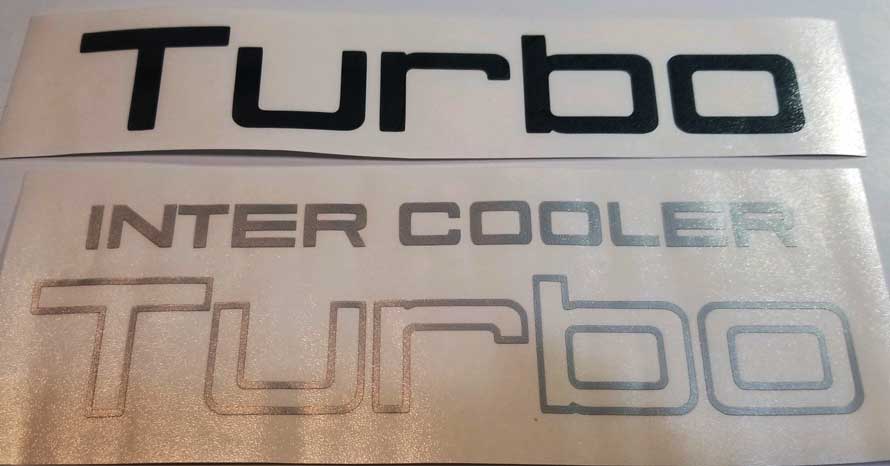
DIE CUT DECAL (Solid Text Style) DIE CUT DECAL (Outline Style)

|
|
When
done shopping, please proceed to SHIPPING: CLICK
HERE
|
Two-color decal set below (3-piece set). When
done shopping, please proceed to SHIPPING: CLICK
HERE 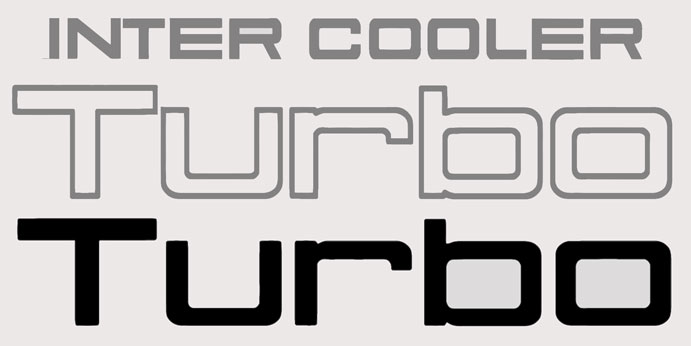
Size: Approx 186 x 51 mm overall size (7.3 x 2 inches). Same dimensions as original emblems: $10.00 per set. ORDER MENU: Shopping cart and Check Out is at Bottom of Page
diecutinstructions |
DIE CUT DECAL
|
|
TURBO (upper-case outline) Die Cut Decal Die Cut Vinyl Decal mounted on professional transfer material. Colors: White, Silver, Dark Charcoal Gray, Black Sizes: 10 x 1.75 inches (254 x 44 mm): $8.00 ea 5 x 0.9 inches (127 x 22 mm): $5.00 ea When
done shopping, please proceed to SHIPPING: CLICK
HERE
|
DIE CUT DECAL
|
| Turbo (lower-case outline) Die Cut Decal Die Cut Vinyl Decal mounted on professional transfer material. Colors: White, Silver, Dark Charcoal Gray, Black Sizes: 10 x 1.5 inches (254 x 37 mm): $8.00 ea 5 x 0.75 inches (127 x 19 mm): $5.00 ea When
done shopping, please proceed to SHIPPING: CLICK
HERE
|
| STRAIGHT
OUTTA GOTEBORG |
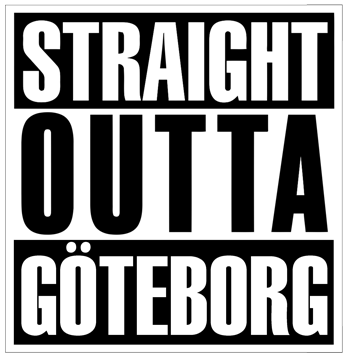 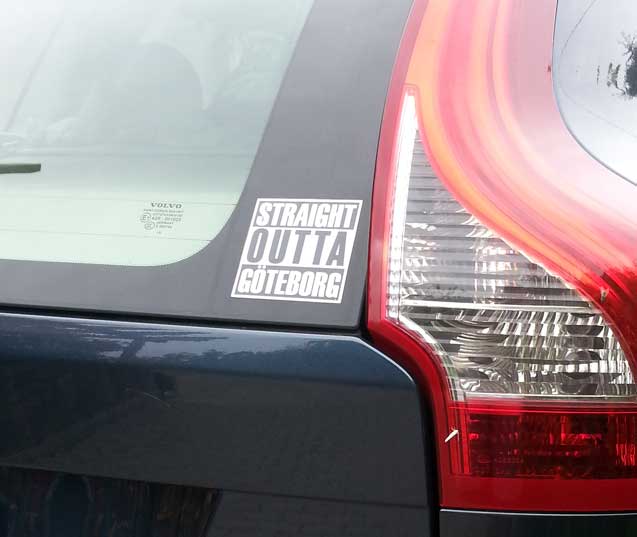 |
ORDER BELOW
|
When
done shopping, please proceed to SHIPPING: CLICK
HERE
|
| 'RETRO' |
|
When
done shopping, please proceed to SHIPPING: CLICK
HERE
|
|
When done shopping, please proceed to SHIPPING: CLICK HERE |
| Tuning
Kit by
VO*VO R-SP*RT Poly Dome Emblem |
|
This is an
accurately made
reproduction of the Ultra-RARE Poly
Dome Emblem that was offered in
the 1970s for R-Sp*rt
Tuning
Kit customers.
 Available with adhesive back or optional Magnetic backing may be added. Poly Dome Emblem: 90 x 51 mm (about 3.5 x 2 inches). $10.00 ea
|
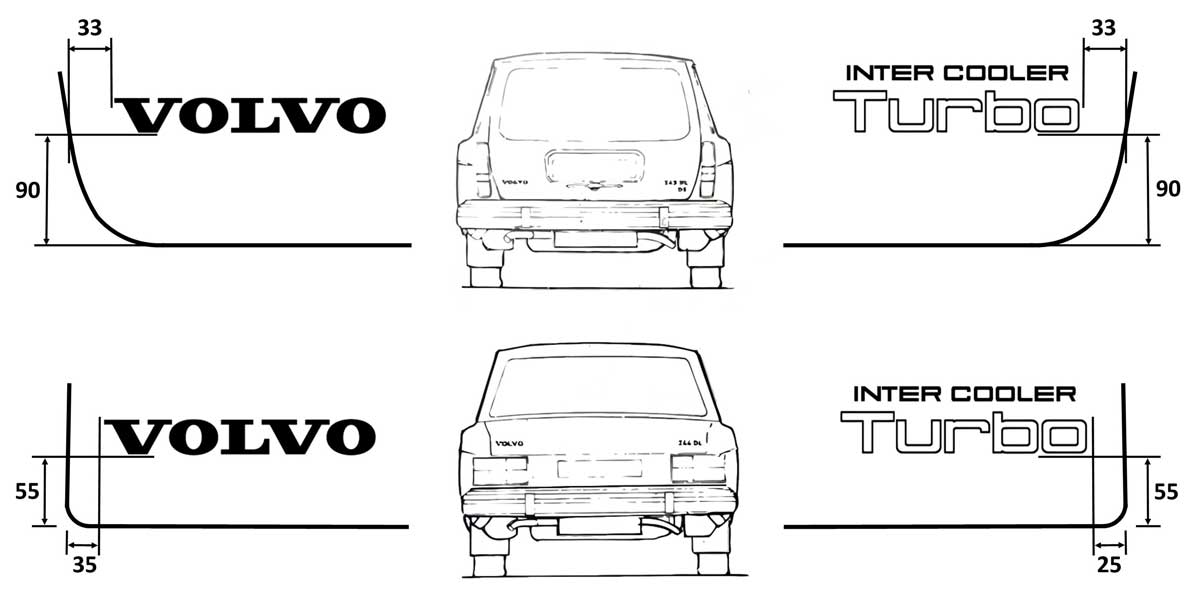
| TURBO
by R-SPORT STICKER |
This was a
very rare poly dome emblem Volvo offered at one time for 240 R-Sport
Turbo
Kit customers.   |
|
| I'm not offering a poly dome at this time. This is a
printed vinyl sticker. Also available with magnetic backing. TURBO By R Sport Printed Sticker: 5 inches long: $5.00 TURBO By R Sport Printed Sticker: 6 inches long: $6.00 TURBO By R Sport Printed Sticker: 8 inches long: $8.00 When done shopping, please proceed to SHIPPING: CLICK HERE Shopping cart and Check Out is at Bottom of Page |
|
|
 |
|
| Re-creation of a
vintage Turbo Plus sticker that was originally offered with Turbo+ kits in the
1980s. Available as an adhesive backed sticker, or with magnetic backing or printed as a reverse inside window sticker. TURBO+ Equipped Sticker TURBO+ Equipped: SIZE: 3 x 1 inches (76 x 25 mm): $3.00 TURBO+ Equipped: SIZE: 4 x 1.2 inches (102 x 30 mm): $4.00 TURBO+ Equipped: SIZE: 5 x 1.5 inches (127 x 38 mm): $5.00 |
|
|
When
done shopping, please proceed to SHIPPING: CLICK
HERE Shopping cart and Check Out is at Bottom of Page |
|
|
 |
|
| Re-invention of the above vintage sticker in the same style for those with a TURBO. Available as an adhesive backed sticker, or with magnetic backing or printed as a reverse inside window sticker. TURBO Equipped Sticker TURBO Equipped: SIZE: 3 x 1 inches (76 x 25 mm): $3.00 TURBO Equipped: SIZE: 4 x 1.2 inches (102 x 30 mm): $4.00 TURBO Equipped: SIZE: 5 x 1.5 inches (127 x 38 mm): $5.00 |
|
|
When
done shopping, please proceed to SHIPPING: CLICK
HERE Shopping cart and Check Out is at Bottom of Page |
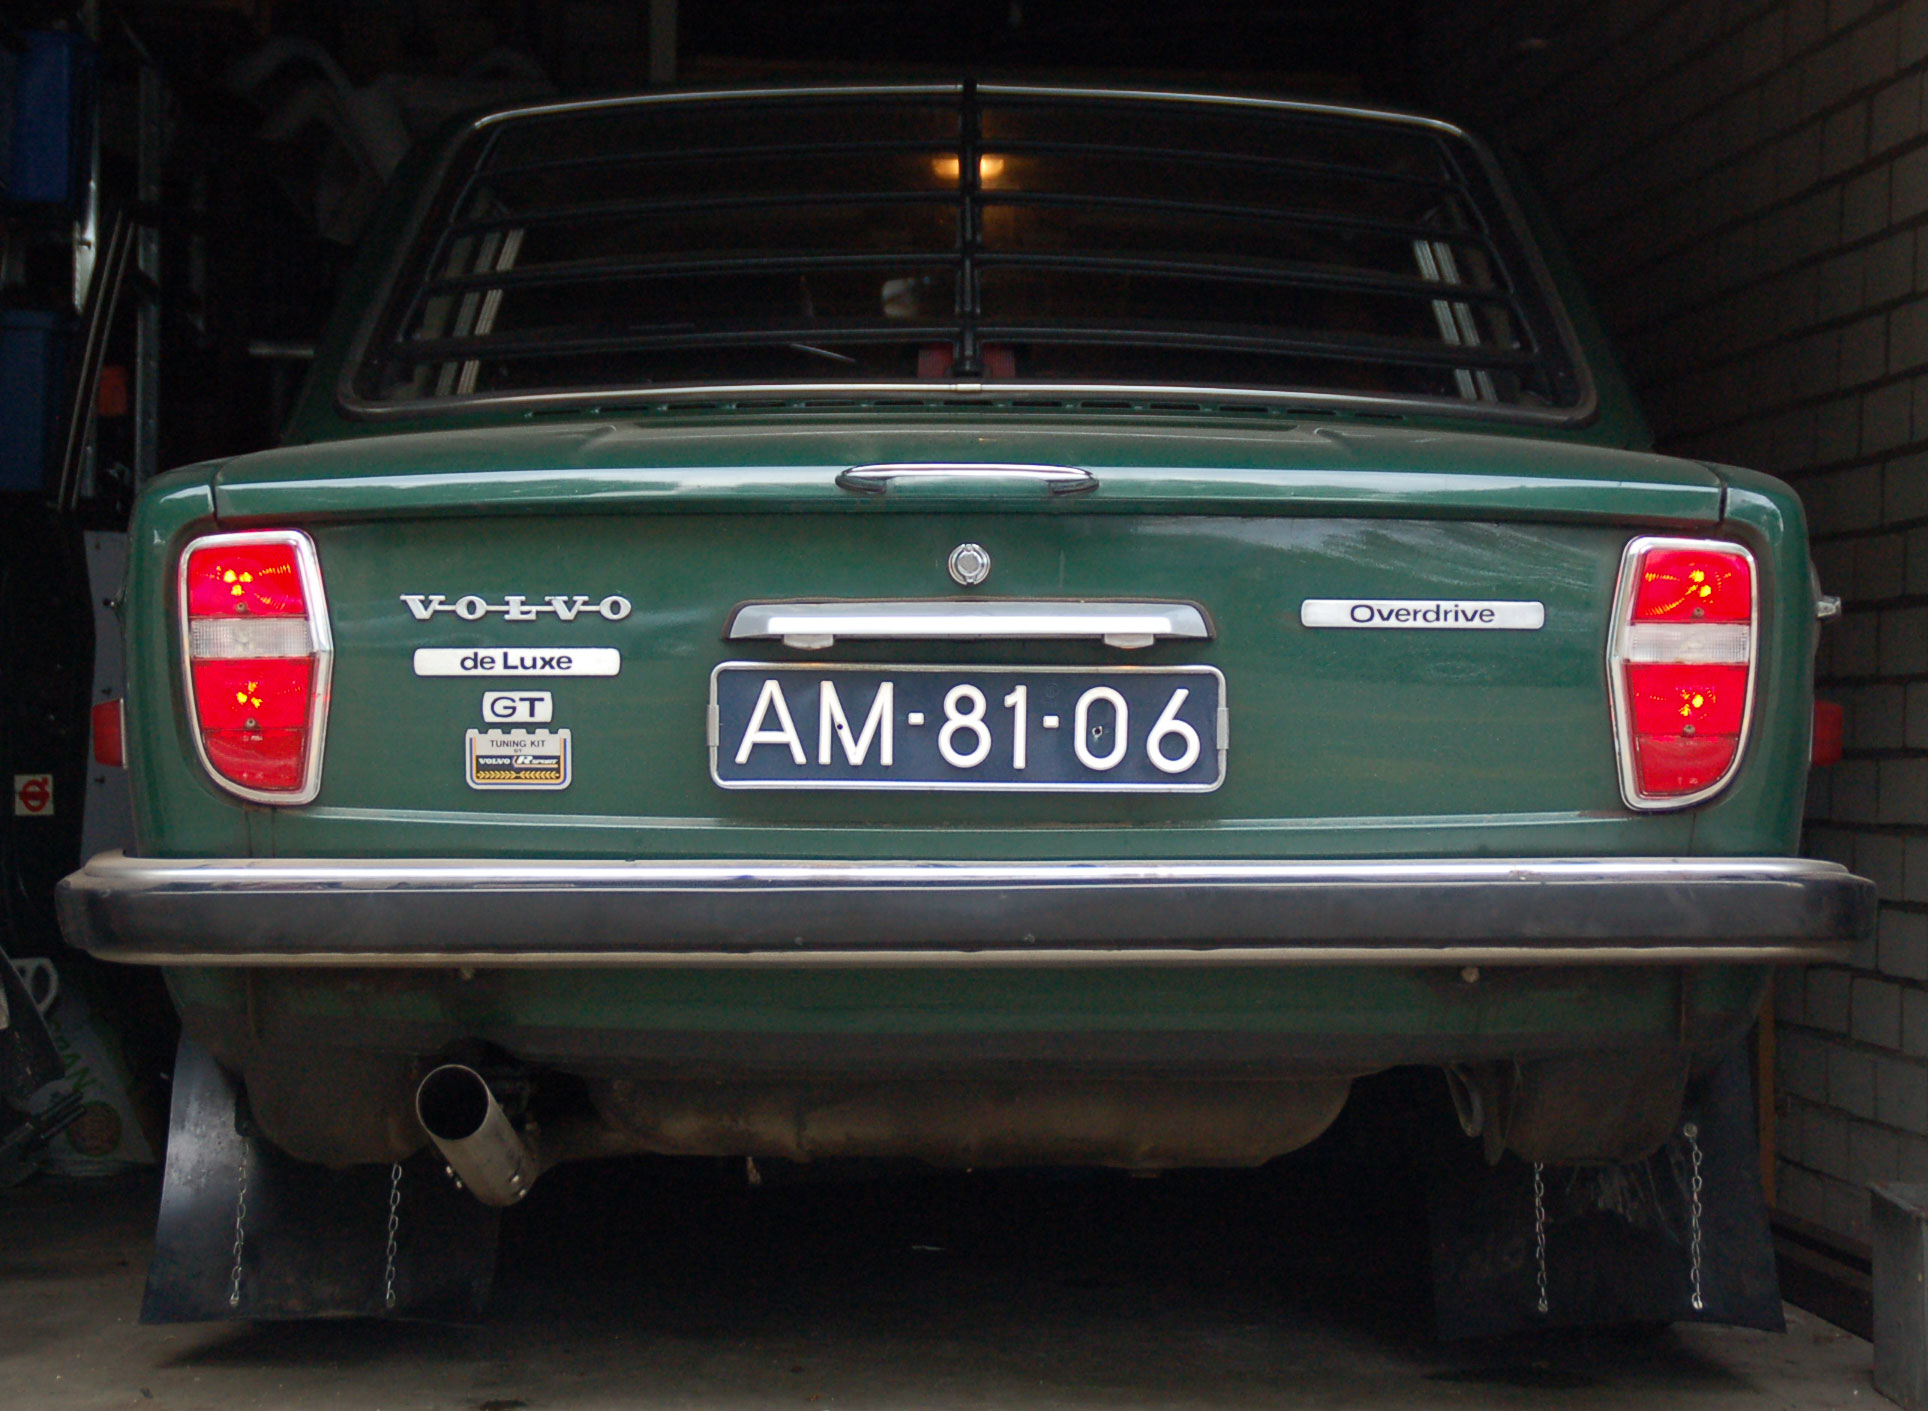
| VOLVO GT
KIT Printed Stickers |
 |
|
| The
VOLVO GT KIT sticker was an old Volvo competition division
sticker rarely seen anywhere since. These are custom recreations
in a few sizes. There are also a few slightly different versions I created, including the VOLVO TURBO below. These are available as vinyl stickers with adhesive back, or with magnetic backing, or as reverse inside window decals. |
|
| IMAGE ABOVE VOLVO GT KIT. Size: 4 x .75 inches (102 x 19 mm): $3.00 ea. VOLVO GT KIT. Size: 5 x 1 inches (127 x 25 mm): $4.00 ea. VOLVO GT KIT. Size: 6 x 1.2 inches (152 x 30 mm): $5.00 ea. |
|
 |
|
| VOLVO
TURBO. Size: 4 x .75
inches (102 x 19 mm): $3.00
ea. VOLVO TURBO. Size: 5 x 1 inches (127 x 25 mm): $4.00 ea. VOLVO TURBO. Size: 6 x 1.2 inches (152 x 30 mm): $5.00 ea. |
| VOLVO
CROWN STYLE STICKERS |
 |
|
| These "Crown"
style stickers are designed with the traditional Volvo Swedish Crown in
mind. These are available as a vinyl self-adhesive sticker or Reverse Inside Window Decal. A magnetic backing option is also available. CROWN VOLVO TURBO- 2 x 1.2 inches (51 x 30 mm): $2.00 ea. CROWN VOLVO TURBO- 3 x 1.7 inches (76 x 43 mm): $3.60 ea. CROWN VOLVO TURBO- 4 x 2.2 inches (102 x 56 mm): $5.00 ea. |
|
|||||||||||||||
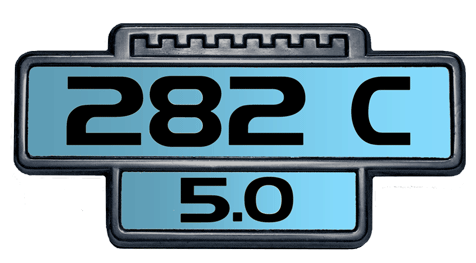
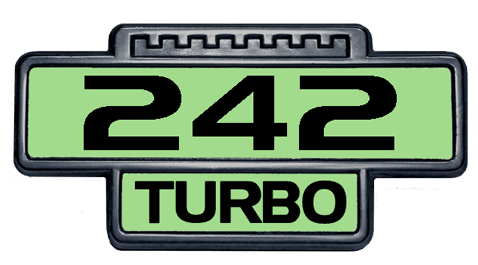
SOME ORIGINAL 1975-79 240-260 FENDER BADGE IMAGES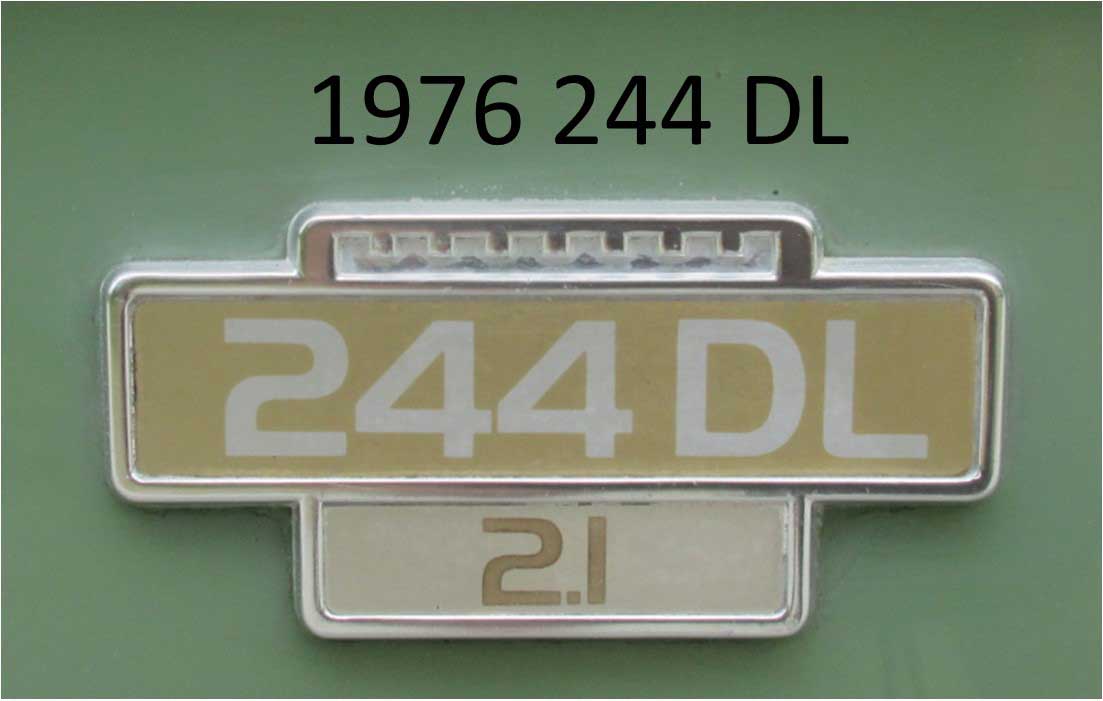 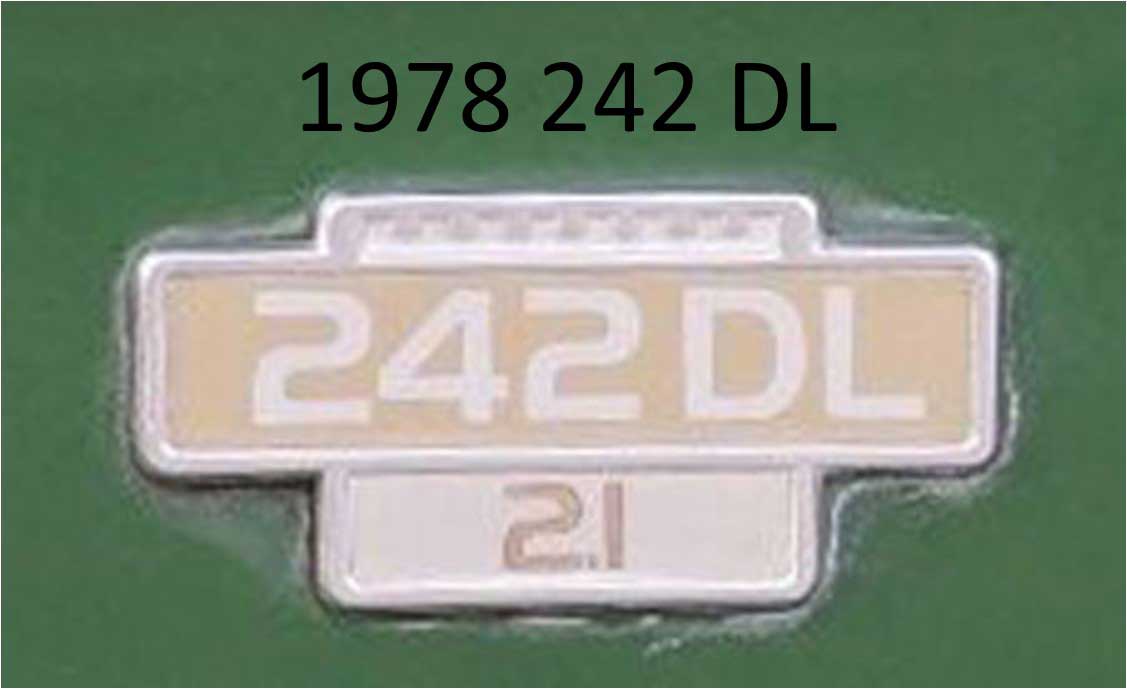  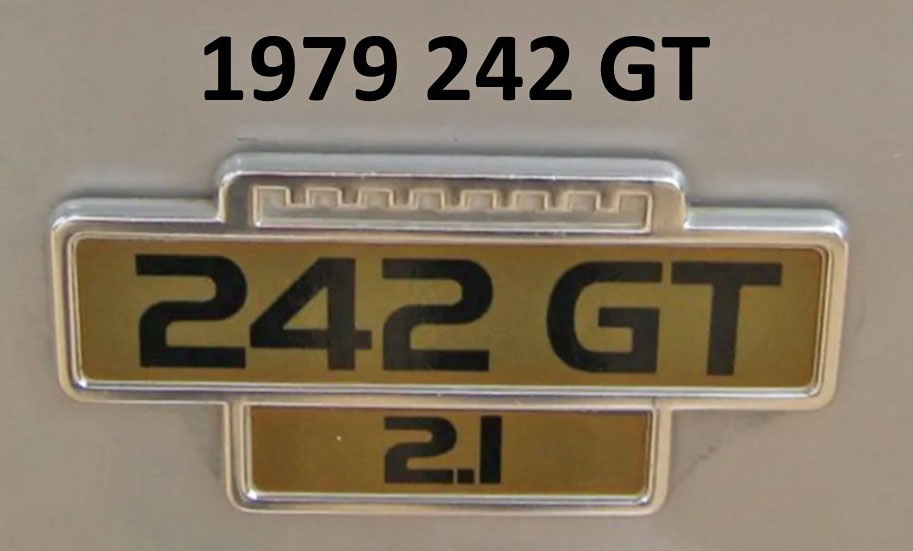  |
|||||||||||||||
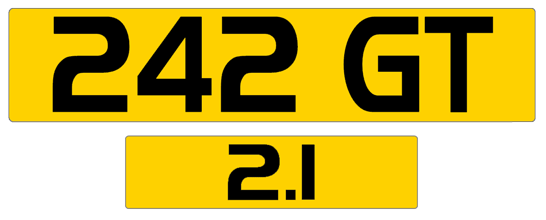
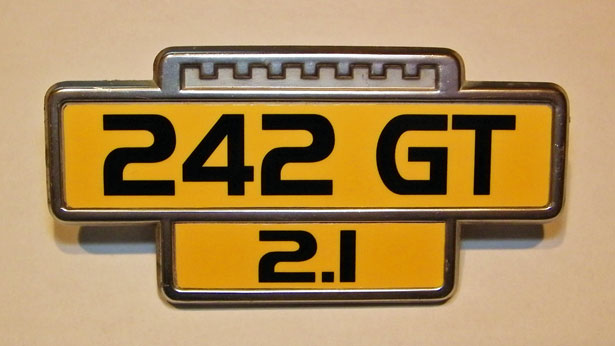
| If you have original metal
fender
badges like these and the printing is faded, I can make new sticker
inserts. These inserts can be original looking or with custom text or colors. These inserts may be over-layed into the frame of your original badges. Removing the old sticker insert is not necessary. Your choice of text and colors may be added. High-Gloss or Matte Finish. Please keep in mind that matching exact custom colors perfectly or printing true metallic colors, such as silver or gold, is difficult. So coming close will need to be acceptable in many instances. For a color you are trying to match, you may pick Pantone color numbers from the color chart here and I'll do my best: https://www.pantone.com/color-finder |
|||||||||||||||
|
|||||||||||||||
| When ordering a custom design, please indicate the STYLE above, or indicate the requested Text and
Background Colors
for top piece and bottom piece. Also note that you may choose a Matte or Gloss finish. |


 |
Please keep in mind that if you have an exact color that needs to be matched, if may not be perfect. And printing true metallic colors, such as silver or gold, is not possible, although it can be simulated as shown. If you would like a close match to specific colors, here's a suggestion. Go to the Pantone Color Chart at https://www.pantone.com/color-finder and choose a color using the color number. These can be made custom with almost ANY TEXT or COLORS. High-Gloss or Matte Finish. |
||||||
|


| When ordering a custom design, please indicate the STYLE above, or indicate the requested Text and
Background Colors
for top piece and bottom piece. Also note that you may choose a Matte or Gloss finish.
|
When done shopping, please proceed to SHIPPING: CLICK HERE Shopping cart and Check Out is at Bottom of Page |
| |
  |
|
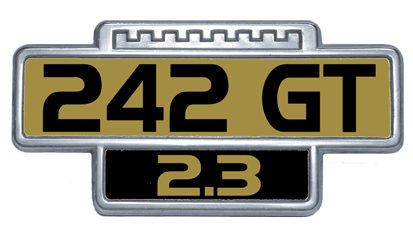
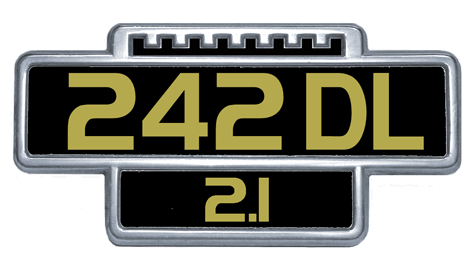
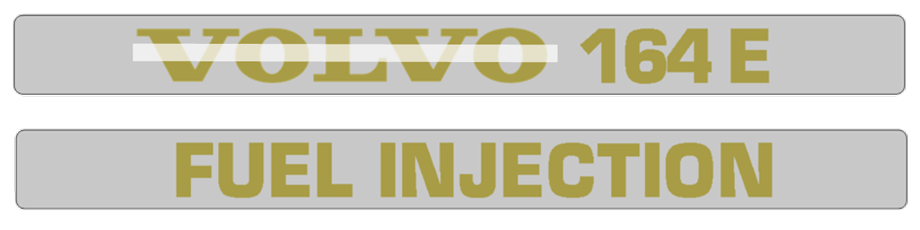
| AVAILABLE CUSTOM DECALS,
ANY TEXT. Adhesive backed. If you have original metal fender
badges like these, but the printing is faded, I can make new printed
sticker
inserts. Or you can customize your inserts. These inserts
may be
overlayed into the frame of your
original badges. This insert size is
197 x 17.5 mm. Removing the old sticker insert is not
necessary.
CUSTOM PRINTING: Your choice of text and colors may be added. High-Gloss or Matte Finish. Please keep in mind that matching exact colors perfectly or printing true metallic colors, such as silver or gold, is difficult. So coming close will need to be acceptable in many instances. For a custom color you're trying to match closely, you may choose a Pantone color number from the chart in this site and I can come pretty close: https://www.pantone.com/color-finder. When ordering, please indicate Text and Background Colors. Feel free to email or send photos if needed. |
|
|
|
|
|
 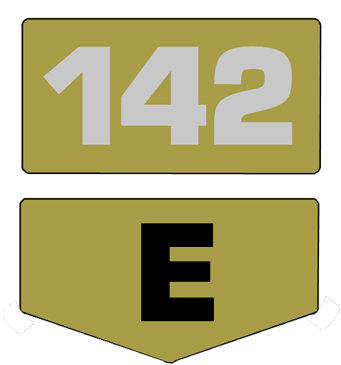 If you
have original metal fender
badges like this, but the printing is faded, I can make new printed
adhesive backed sticker
inserts. You can customize your inserts. These inserts
may be
overlayed into the frame of your
original badges. This insert size is
36 mm wide. Removing the old sticker insert is not
necessary.
Your
choice of text and colors may
be
added. High-Gloss
Finish
or Matte Finish.
If you
have original metal fender
badges like this, but the printing is faded, I can make new printed
adhesive backed sticker
inserts. You can customize your inserts. These inserts
may be
overlayed into the frame of your
original badges. This insert size is
36 mm wide. Removing the old sticker insert is not
necessary.
Your
choice of text and colors may
be
added. High-Gloss
Finish
or Matte Finish. |
|
| Please
keep in mind that matching an exact color perfectly or printing true
metallic
colors, such as silver or gold, is difficult. So coming
close
to those colors will need to be acceptable in many instances. For a custom color you're trying to match closely, you may choose a Pantone color number from the chart in this site and I can come pretty close: https://www.pantone.com/color-finder When ordering, please indicate Text and Background Colors for the top piece and bottom piece. Feel free to email or send photos if needed. |
ORDER MENU BELOW |
|
When
done shopping, please proceed to SHIPPING: CLICK
HERE
Shopping cart and Check Out is at Bottom of Page |
|
|
 |
ORDER MENU BELOW |
|
When
done shopping, please proceed to SHIPPING: CLICK
HERE
|
| Volvo 1800 Badge Sticker |
 |
|
| Here
is a Printed Flat Vinyl Sticker made from the image to the left.
It's not a true 3D badge. SIZE: 2.25 x 2.25 inches (57 x 57 mm): $3.00 ea. SIZE: 3 x 3 inches (76 x 76 mm): $5.00 ea. SIZE: 4 x 4 inches (102 x 102 mm): $6.00 ea. |
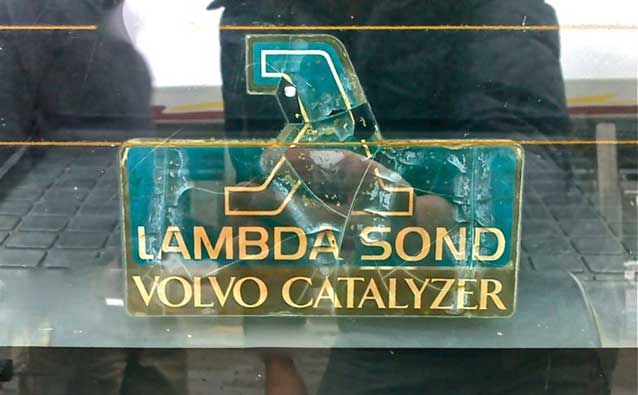
| LAMBDA
SOND |
  |
|
| This
original Lambda Sond decal appeared on 240/260 models beginning in 1976
(for
1977 models) when
Volvo introduced the Oxygen Sensor Feedback Loop to their Bosch
K-Jetronic fuel injection system. It was usually applied as a reverse inside window
decal in the rear window. Re-creation LAMBDA SOND Reverse Cling Inside Window Decal Size: 110 mm wide x 80 mm tall (4.3 x 3.1 inches): $5.00 ORDER MENU |
|
| When
done shopping, please proceed to SHIPPING: CLICK
HERE Shopping cart and Check Out is at Bottom of Page |
| POLESTAR |
 |
|
| POLESTAR Black Rectangle Sticker.
Size: 4 x 1.3 inches (102 x 33 mm): $3.00 Size: 5 x 1.7 inches (127 x 43 mm): $4:00 Size: 6 x 2 inches (152 x 50 mm): $5.00 |
|
 |
|
| POLESTAR
Blue Square Size 1.1 inches (28 mm): $2.00 Size 2 inches (51 mm): $3.00 Size 3 inches (76 mm): $5.00 Size 4 inches (102 mm): $6.00 Size 5 inches (127 mm): $8.00 |
|
 |
|
| POLESTAR
Blue Slanted Square Size 1.1 inches (28 mm): $2.00 Size 2 inches (51 mm): $3.00 Size 3 inches (76 mm): $5.00 Size 4 inches (102 mm): $6.00 Size 5 inches (127 mm): $8.00 |
|
| BABY IN
VOLVO - CHILD SAFETY |
 |
|
| This is a
recreation of the original Baby in
Volvo
stickers offered by Volvo once many years ago. Volvo promoted a campaign for child safety awareness. The original size of this sticker was 5.9 x 5.9 inches (150 x 150 mm) measured horizontally. SIZE: 4 x 4 inches (102 x 102 mm): $5.00 SIZE: 5.9 x 5.9 inches (150 x 150 mm): $6.00 |
 |
|
| This is a
recreation of an original CHILD SAFETY
sticker offered by Volvo once many years ago when promoting child safety awareness. SIZE: 3 inches (76 mm): $5.00 |
|
||
|
These are
custom recreations made as self-adhesive vinyl stickers
patterned after the older Volvo
High Mileage Club badges offered by Volvo in the 1970s
(I don't know the precise years). SIZE: 2.5 inches (63 mm) (same size as original). High-Gloss finish.
|
||
Style 101. High Mileage Round 'V'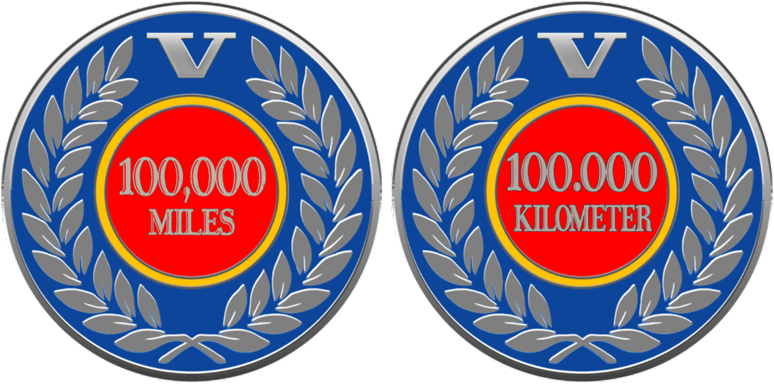 |
Style 102. High Mileage Round (BLANK) |
|
Style 103. High Mileage Round VOVO |
||
| ORDER MENU BELOW |
| SIZE: 2.5 inches (63 mm): $4.00 Available as a vinyl sticker with high-gloss finish, optional with magnetic backing, or as an inside window reverse decal. CHOOSE MILES or KILOMETER. Shopping cart and Check Out is at Bottom of Page Shopping cart and Check Out is at Bottom of Page |
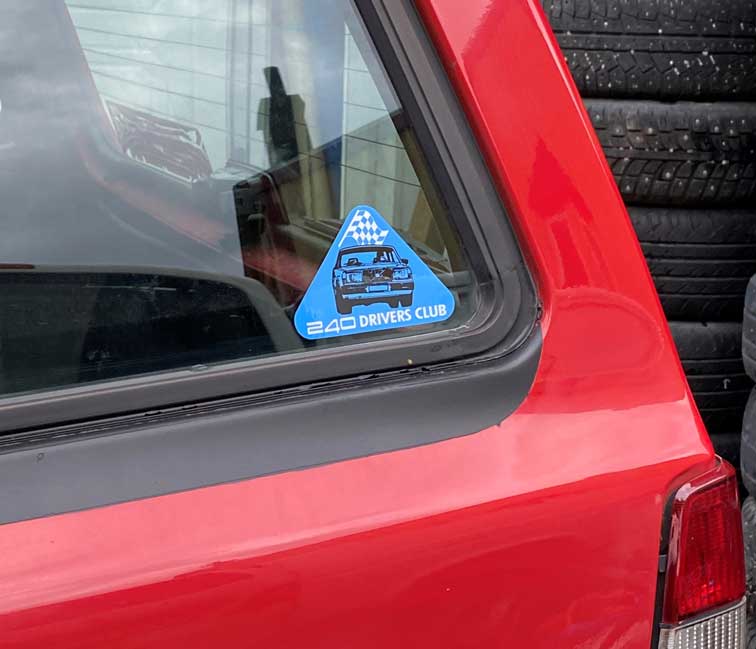
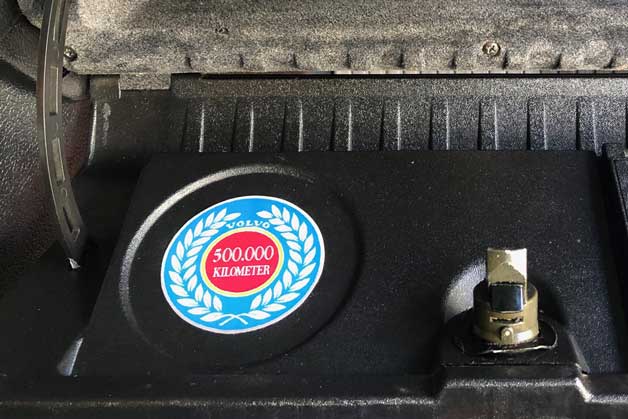
| CUSTOMER PHOTOS |
 |
| Style 201. Distance to the Moon MILES This Car is from SWEDEN 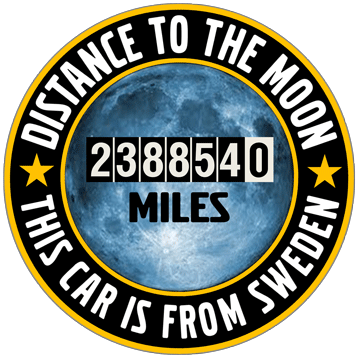 |
Style 202. Distance to the Moon KILOMETER This Car is from SWEDEN 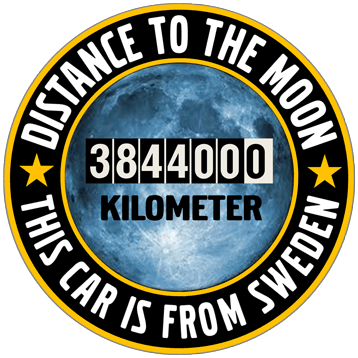 |
| Style 203. Distance to the Moon MILES In this ROCKET 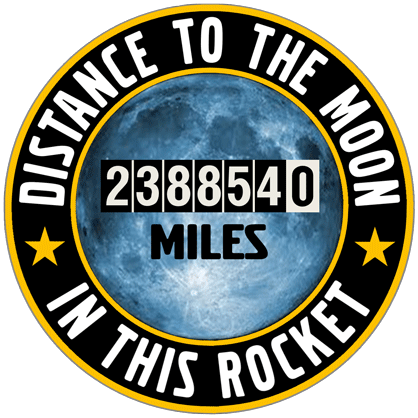 |
Style 204. Distance to the Moon KILOMETER In this ROCKET 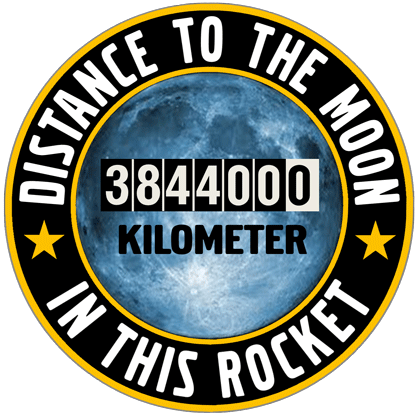 |
| Style 205. Distance to the Moon MILES In this VOVO  |
Style 206. Distance to the Moon KILOMETER In this VOVO  |
| Style 207. Distance to the Moon MILES In this VEHICLE 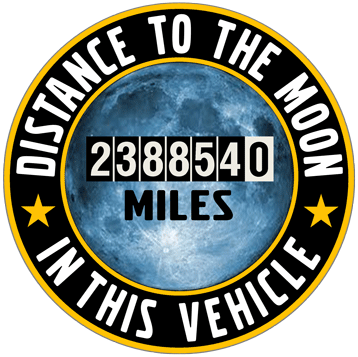
|
Style 208. Distance to the Moon MILES In this HOOPTIE 
|
| Style 209. Distance to the Moon MILES In this CRAPBOX 
|
|
ORDER MENU BELOW |
| SIZE: 3 inches (76 mm): $5.00 Available as a vinyl sticker with high-gloss finish, optional with magnetic backing, or as an inside window reverse decal. AVAILABLE to Choose IN MILES or KILOMETERS When done shopping, please proceed to SHIPPING: CLICK HERE Shopping cart and Check Out is at Bottom of Page |
These are hated by Volvo and crossed out. Sorry.  Volvo makes metal Heritage Club badges available for no cost for Volvo owners. They do not offer these as stickers or inside window decals, which is something you may prefer instead of a metal badge. These stickers below were designed with that in mind and were to be offered as stickers or inside glass decals. Since Volvo has ruined our fun, these are no longer available here. SIZE: 89 x 32 mm (3.5 x 1.25 inches): $4.00 ea. |
|||
100,000 |
200,000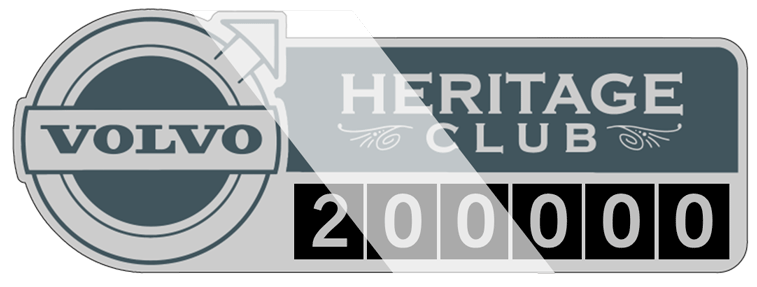 |
300,000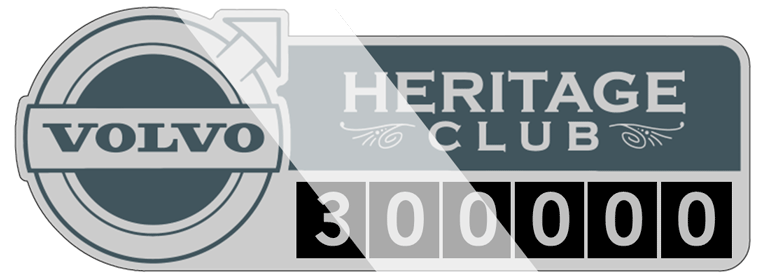 |
|
TEN YEARS |
FIFTEEN YEARS |
TWENTY YEARS |
|
TWENTY FIVE YEARS |
THIRTY YEARS |
||
| Miscellaneous
Purchase Add to Cart (This will allow you to add an additional charge to your Shopping Cart order) The below buttons are for use with my Shopping Cart system. This can be used to add any extra charge to any Shopping Cart order. The can help if you need to add an extra amount for an unusual order or for an item that is not normally available in my page to be added to the cart. View Cart or Check Out: |
| Go to PAGE 2 for
more Volvo Stickers |
| S
H I P P I N G Please Select USA, Canada or International Shipping Options |
|
After adding shipping, click "View Cart" below to Check Out. 
-----------------------------------------------
After adding shipping, click "View Cart" below to Check Out.
---------------------------------------------- International Shipping After adding shipping, click "View Cart" below to Check Out.
|

|
|
|
||||
| davebarton.com |
prancingmoose.com |
240turbo.com |
Special Emblems |
|
| Prancing
Moose Stickers |
Volvo
Stickers |
Body/Chassis/Engine
Labels |
New Items |
|
| Other Car Brand
Stickers |
Steering
Wheel Labels |
Center Cap Labels/Overlays |
Cool Volvo
Products |
|
| Grill Labels/Overlays |
Volvo Wire
Harnesses |
Conversion Harnesses |
Harness
Parts/Connectors |
|
| Volvo Relays |
Coil Repair
Harnesses |
240 Window
Scrapers |
740/940
Window Scrapers |
|
| Adjustable Voltage
Regulators |
Horn Buttons |
240 Odometer
Repair |
740 Odometer
Repair |
|
| Volvo Gauge
Faces |
740
Turbo/Boost Faces |
240 Black Door Vinyl |
850 Odometer
Repair |
|
| ALTERNATOR Page |
240 Power Mirrors - Switches |
240 Oil Cooler Page |
240 Fuse Panel Page |
|
| Group A
Racing 242 Turbo Page |
240 Hydraulic Clutch | Fuel Pump RELAY Page |
240 Headlight RELAY Page |
|
| Used Parts & Extra Stuff for sale |
CRIMPING Page |
240 Ignition Page |
240 Headlight Page |
|
| 240 Gauge Electrical Diagrams | 240 REAR END Page | Yoshifab Catch Can Install | 240 MODS and FIXES Page | |
| Side Marker
Lights Page |
Gentex Mirror Upgrade | Yoshifab Drain Tube Install | Modified 240 Favorites | |
| SoCal Salvage Yards | Unleaded Racing Fuel | B26FT Stroker | Dave's 245 Spec Page | |
| 240 SUSPENSION Page | 240 Lowering Page |
240 Windshield Page |
240 WIPER Page | |
| 240 Big
Brakes Page |
240 Dash Top Gauge Pod | Cadillac 4-Note Horn Install | 240 DYNAMAT Installation | |
| 4 Speed Fan
Controller |
Electric Cooling Fan
Page |
BRUSHLESS Cooling Fan Page |
Tropical Fan
Clutches |
|
| 240 AC Page | "KOMFORT BLINKER" Upgrade | T5 Trans Conversion Page | 240 Engine Mount Page | |
| 240 VIN Page | Stepper Idle Valve Page |
Vacuum Diagrams | 240 HOOD Page | |
| 240 Exhaust Page | 242 Power Vent Window Project |
EFI Volvo Pin Function Diagrams |
Favorite Links | |
| R-Sport
Apparel |
Prancing
Moose Apparel |
Volvo Meet Photo Albums | Texas Volvo Meets and Events | |
| Ordering Instructions | Policies | PAYMENTS Page |
Mojave Road Trail Map Page |
|
| Returns | Shipping | Shopping Cart Troubleshooting | Contact Us |
|

|